Nexonia's Pre-Approval feature allows users to submit a pre-approval item that will be automatically approved. For example, if a user is going on a trip and knows they will use $500 for meal expenses, they can submit that amount as a pre-approval item and link meal expenses back to it.
This article will show you, a Nexonia Admin, how to enable the pre-approval feature.
Step 1: On your Nexonia homepage, click the Gear icon to access your company settings.

Step 2: Click the Features tab, then click the Edit button.

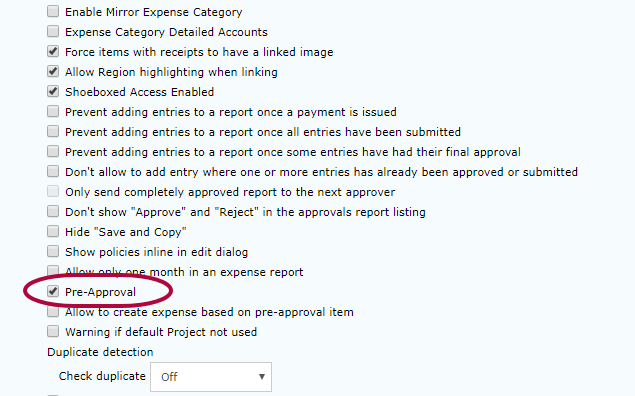
Step 3: Under Expense Reports, scroll until you see the Pre-Approval checkbox. Click the checkbox.
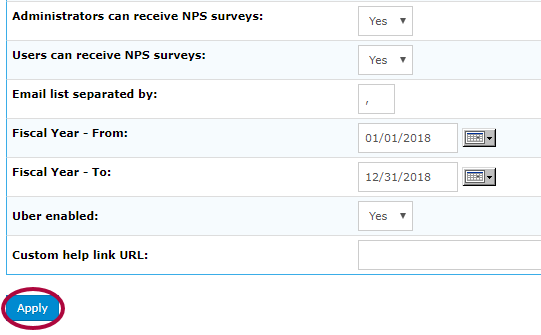
Step 4: Click Apply at the bottom of the screen.
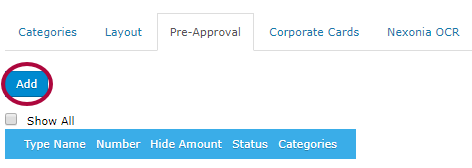
Step 5: Open the Expenses tab, then select Pre-Approval.

Step 6: Click Add.
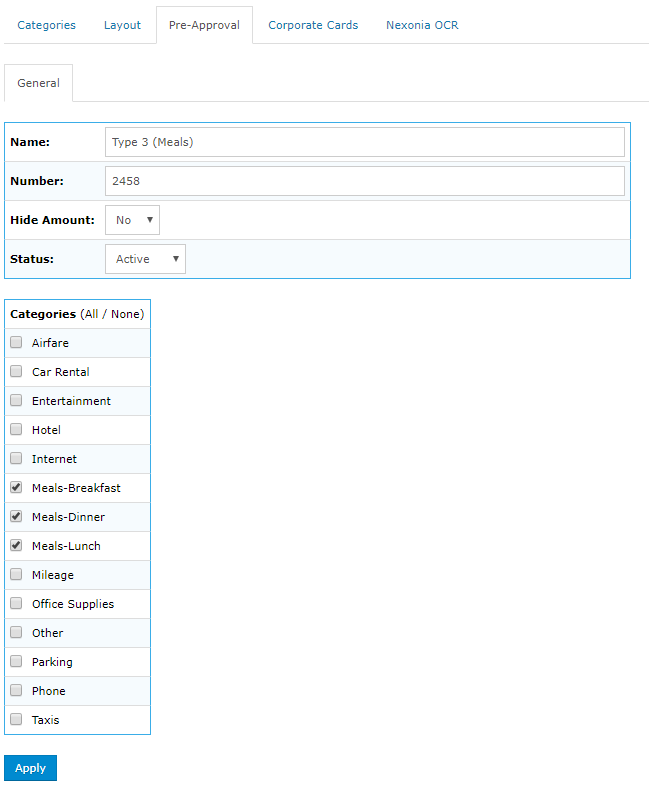
Step 7: Enter the following fields for the pre-approval:
- Name: Name the pre-approval
- Number: Give a number to the pre-approval
- Hide Amount: Choose if you'd like to hide the amount of the pre-approval or not
- Status: Choose if the pre-approval is active or inactive
- Categories: Choose which expense categories you'd like this pre-approval to apply to
Step 8: Click Apply.

Step 9: Next, you can enable an Approval Workflow for pre-approvals. This is so when a user submits a pre-approval item, a manager or admin has to approve it before it being ready to use. Without enabling an approval workflow, once submitted pre-approvals would be automatically approved.
If you've never established an Approval Workflow, start by following the steps in these articles:
- https://nexonia.zendesk.com/hc/en-us/articles/115001348232-Creating-Approval-Workflow-Step-Manager-Approval
- https://nexonia.zendesk.com/hc/en-us/articles/360001486792-Creating-Approval-Workflow-Step-Fixed-Approver
Next, to establish an Approval Workflow for pre-approvals, select the Users tab.

Step 10: Click the Roles tab.

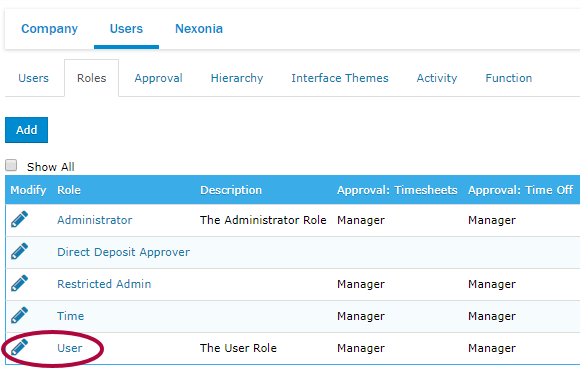
Step 11: Select the Role you'd like to enable an approval workflow for.
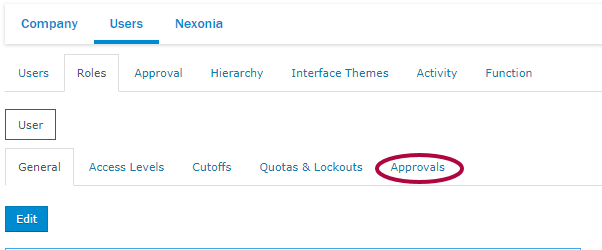
Step 12: Click Approvals.
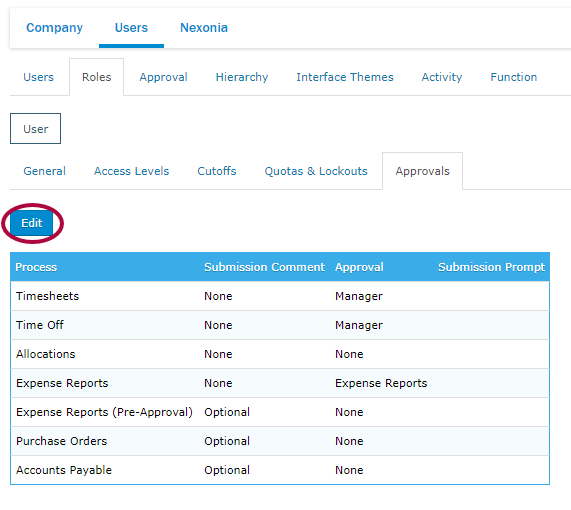
Step 13: Click Edit.
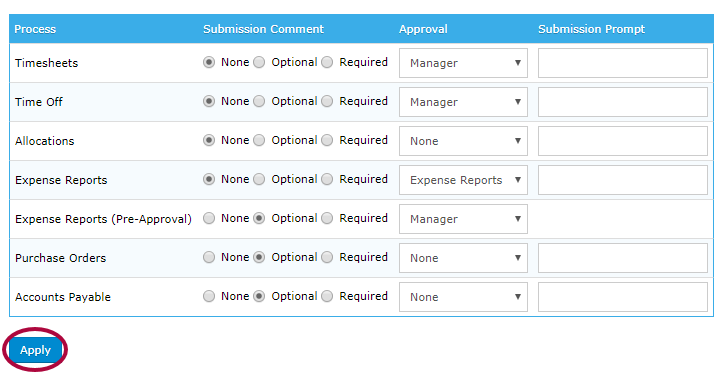
Step 14: In the Expense Reports (Pre-Approval) row, click the drop-down menu and select which role you'd like to approve the pre-approval items.
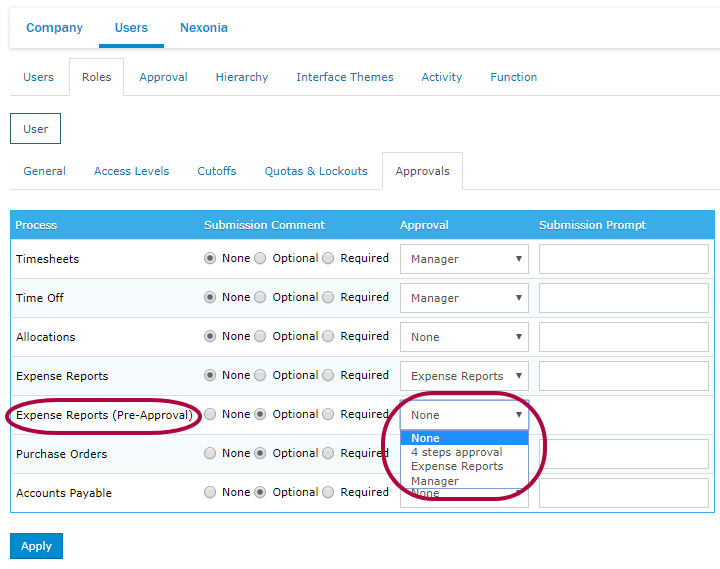
Step 15: When complete, click Apply. Complete this process for any other roles you'd like to establish an Approval Workflow for pre-approvals.
 For additional information on using the Pre-Approval feature, click here.

Comments
0 comments
Article is closed for comments.