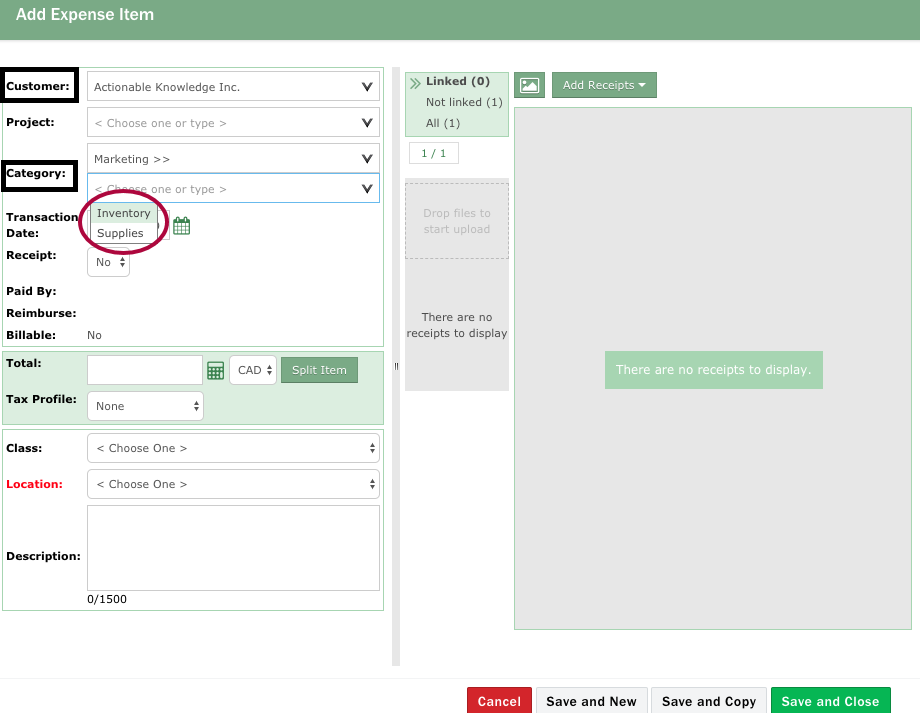
In Nexonia, you have the ability to create multi-tiered categories. This creates multiple category drop-down for any applicable categories. This could be useful when you want to achieve a greater level of detail in how expenses are entered.
For example, if you want to label certain expenses by specific departments (such as Marketing or Sales) and then have different types of expenses available for coding. You could use this feature to create one category tier named Marketing and a second tier named after the type of expense that's being submitted (Supplies, Advertising, etc.).
This article will show you how to create multi-tiered categories.
Step 1: From your Nexonia homepage, navigate to Settings>>Company>>Features>> then click Edit.

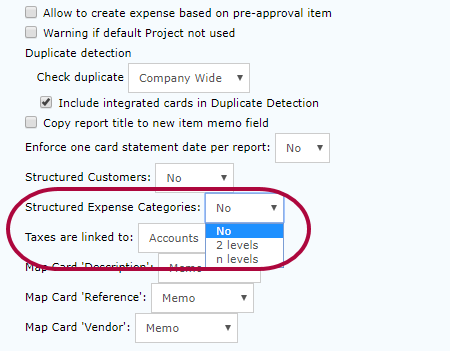
Step 2: In the Expense Categories box, set the Structured Expense Categories drop-down to:
- 2 levels: Allows two levels of categories
- N levels: Allows you to pick more than two levels of categories
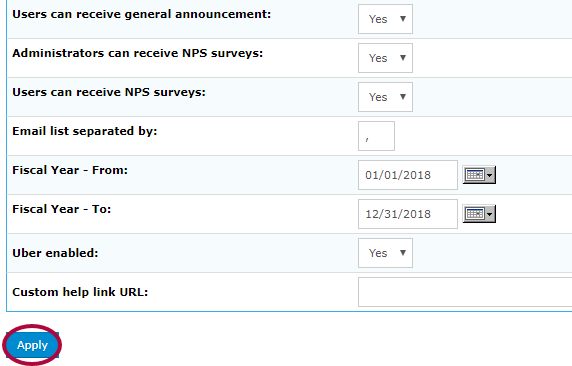
Step 3: Click Apply to save.
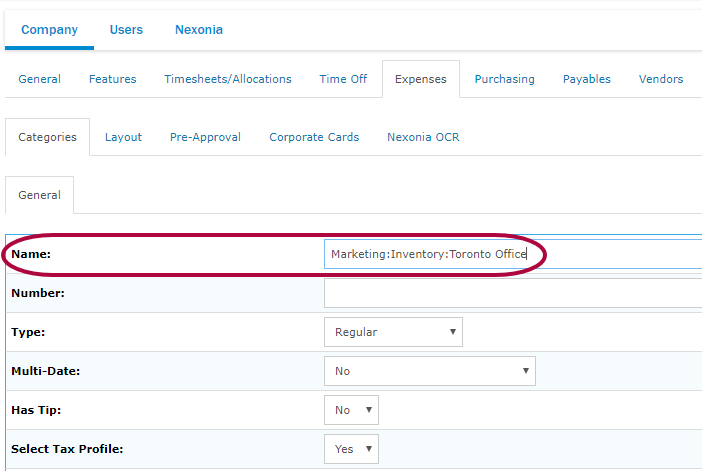
Step 4: In Company Settings, navigate to Expenses>>Categories>> and click the pencil icon next to a category you'd like to make multi-tiered.

Step 5: Create multiple tiers by putting a colon (:) between the name of each tier in the Name field. For example, if you want to have three tiers named Marketing, Inventory, and Toronto Office, you would enter: Marketing:Inventory:Toronto Office (no need to use spaces).
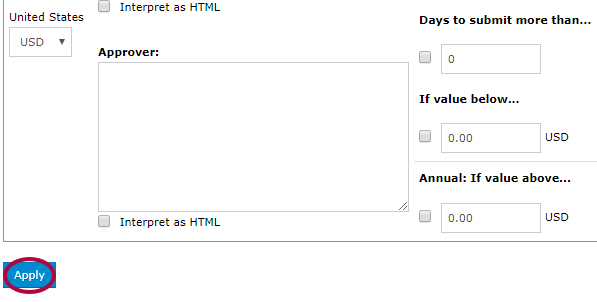
Step 6: Click Apply to save your changes.
Your account will now have multi-tiered categories.
If you want to create new categories that will be multi-tiered and you are integrated with Intacct or NetSuite, see the following articles for instructions on how to import the categories first, then perform the steps above.
Intacct:
- Common Intacct Setup Items: Create Expense Types
- Synchronize Expense Categories from Intacct Expense Types
NetSuite:
- How to Create NetSuite Expense Categories
- Synchronizing Expense Categories from NetSuite Expense Categories
If you're integrated with QuickBooks or Bill.com, see the following articles for instructions on how to create the categories manually and map for integration, then perform the steps above.
QuickBooks:
- How to Create Expense Categories in Nexonia (QuickBooks Desktop)
- How to Create Expense Categories in Nexonia (QuickBooks Online)
Bill.com:
If you do not integrate with any of the above ERPs, you can refer to this article for expense category creation, then perform the steps above.

Comments
0 comments
Article is closed for comments.