In Nexonia, an approval process is assigned to one or multiple Nexonia user roles (not to an individual user). This is how the system knows which approval process to route entries through - based on the role of the user.
This allows for assignment of different approval workflows for different user groups, and also for the different modules (e.g. expenses, timesheets, payables).
Note: when you create a new role, you'll need to assign the approval workflow for that role.
To assign an approval process to a specific user role, take the following steps:
In Nexonia, navigate to Settings > Users > Roles and then click on the name of the role to which you would like to assign an approval process.
Once you're viewing the role, you should see a tab on the right called "Approvals".
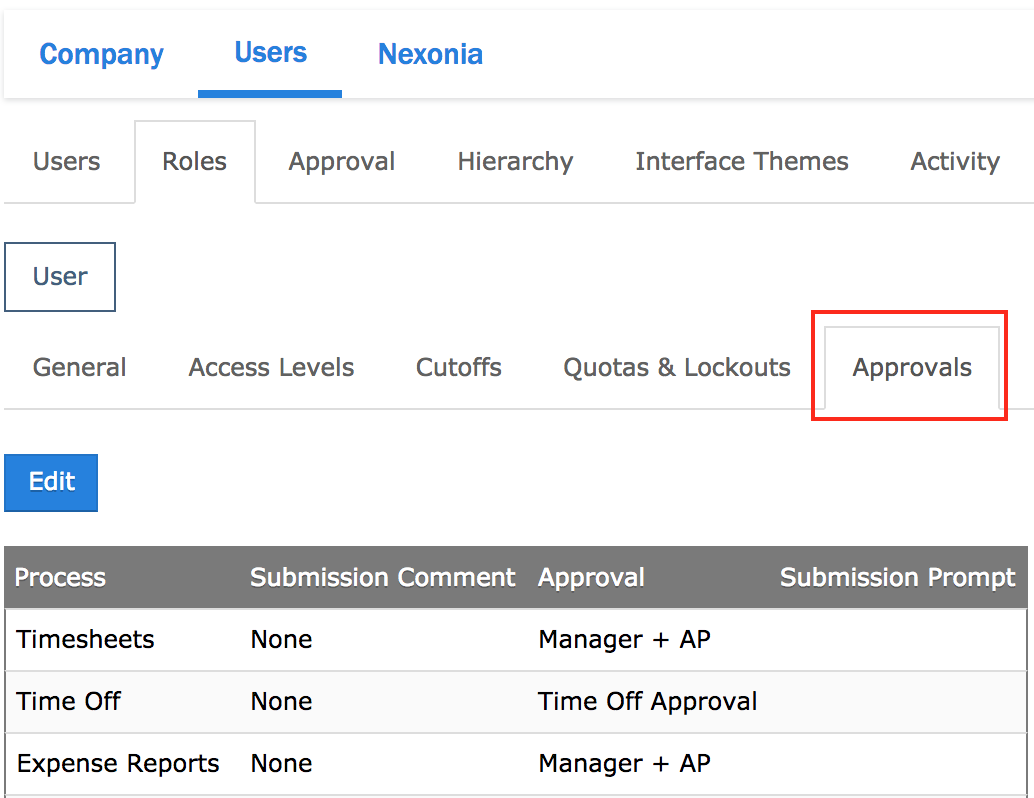
Click on Approvals and then Edit.
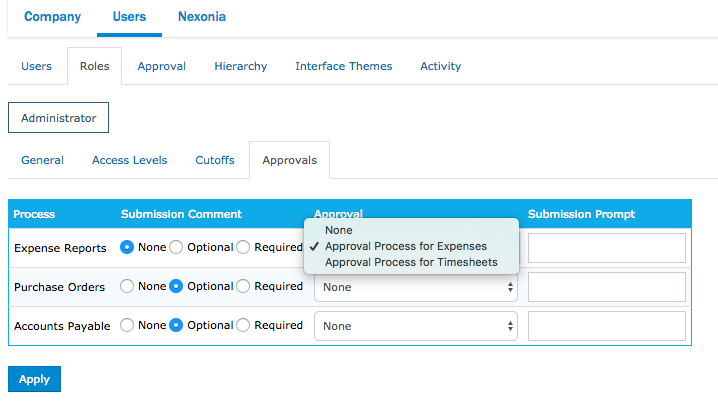
If you want to assign the approval process for Expenses, then find the process name (Expense Reports) and then select the approval process (e.g. Approval Process for Expenses) under the Approval column.
You have additional options which affect submissions for the role:
Submission Comment: You can define the option for the user to leave a comment, when submitting the expenses. The default is "None", which means user are not given an option to provide a submission comment. You can select either Optional or Required depending on your requirements.
Submission Prompt: If you want a message shown to the users before they click “OK” to submit, you can enter that text here. For example: “By submitting this expense report, I acknowledge…” or for timesheets “Please note that once submitted, you cannot change your hours”.
Click on Apply to save the change. This change will apply to any entries submitted from this point forward.
Comments
0 comments
Article is closed for comments.