
Approving an accounts payable bill advances it to the next step in the approval workflow. If the bill is approved at the final step in the workflow, the status changes from Submitted to Approved, and it will be ready for export to your ERP (if applicable).
When logged into Nexonia on the web, from the home screen, either click on Approvals along the navigation bar or click on the Approval System icon on the welcome page.
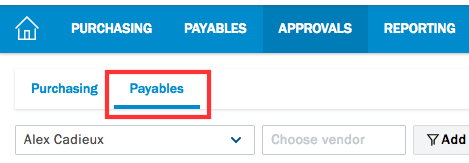
![]() Note: If you are using multiple Nexonia products, ensure you have clicked on Payables just below the navigation bar after accessing Approvals.
Note: If you are using multiple Nexonia products, ensure you have clicked on Payables just below the navigation bar after accessing Approvals.
You will now be able to review any bills that have been submitted to you. Double click on the bill to open up for review.
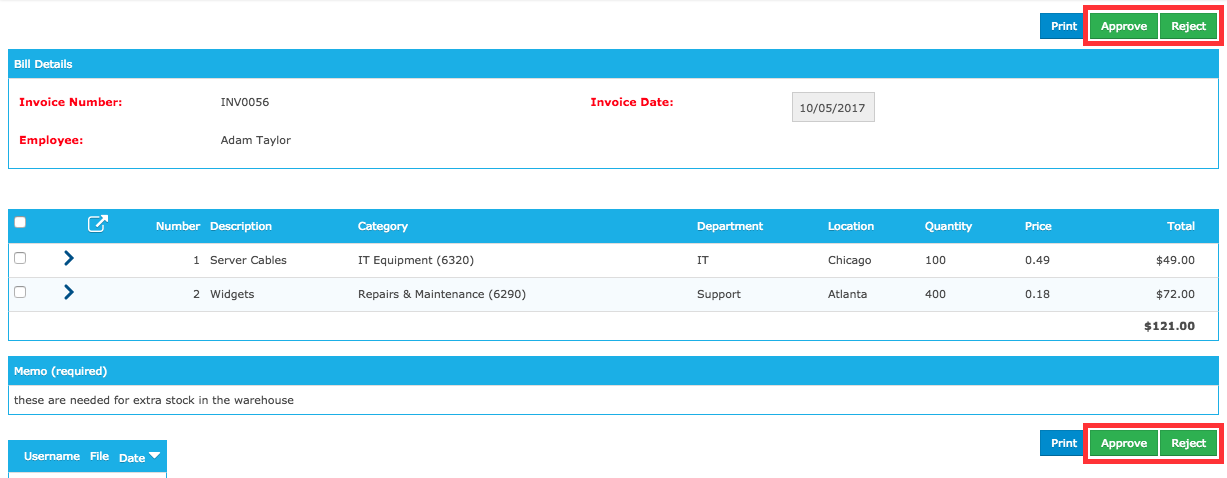
Based on your permissions, you may be able to make edits and changes to the content. Otherwise, the information will be presented in read only. Notably, at the bottom of the bill could be any user uploaded attachments that you can review by clicking on the file name.
You can Approve or Reject bills in a couple different ways.
- Within the bill, on the right hand side at both top and bottom will be Approve and Reject buttons to click on.
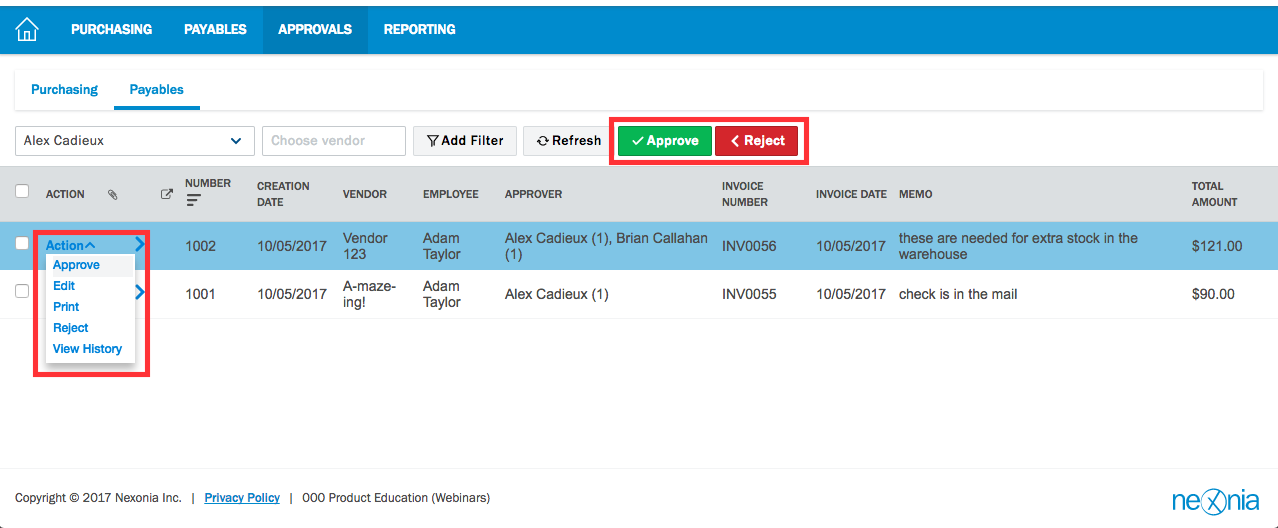
- From the Approvals page, click the checkbox for the bill you would like to action on, and along the top of the page, select Approve or Reject.
- Also from the Approvals page, click the Action dropdown for the bill and select Approve or Reject from here.
If you are rejecting a bill, you will likely be prompted to fill in a comment. This is information that will be communicated to the original submitter.
Otherwise, approving the bill will remove it from your approval queue and progress it in the approval workflow to the next step.
Comments
0 comments
Article is closed for comments.