Filters in the Expenses module can be applied to determine which expense reports you want to display. This can be helpful if you have a long list of reports and only want to see specific ones.
This article will show you, a Nexonia Admin, how to filter your own expense reports or those of other users whose expenses you can see.
Step 1: On your Nexonia homepage, click the Expenses tab.
Step 2: Pick the applicable user in the drop-down menu.

Step 3: Click Filter by.

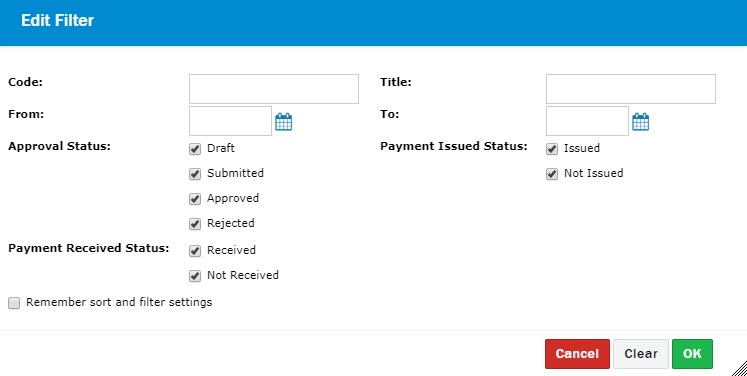
Step 4: A pop-up window will appear listing all your filtering options:
- Code: The number associated with the report.
- Title: The name of the report.
- From and To: Can be used to set a date range for the expenses. This will look at the item/transaction date, not the creation date.
- Approval Status: Pick any of the available options
- Payment Issued Status: Choose a status
- Payment Received Status: Choose a status
- Remember and sort filter settings: Check mark this option if you want the filter you defined to be saved any time you view your expenses.

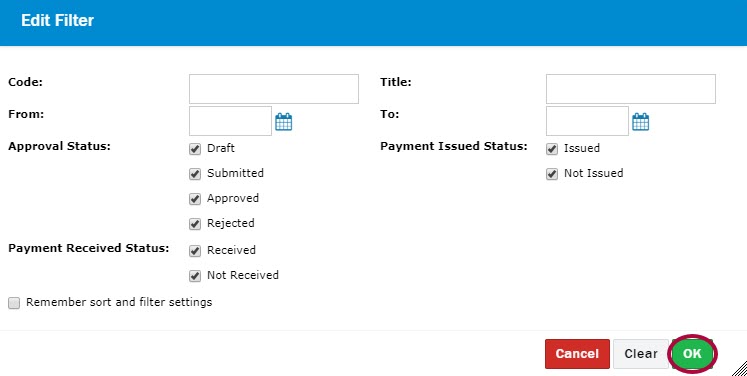
Step 5: Click OK to save.


Comments
0 comments
Article is closed for comments.