
To create a mileage expense item, create or open an expense report. Within the report, click on Add Expense Item.
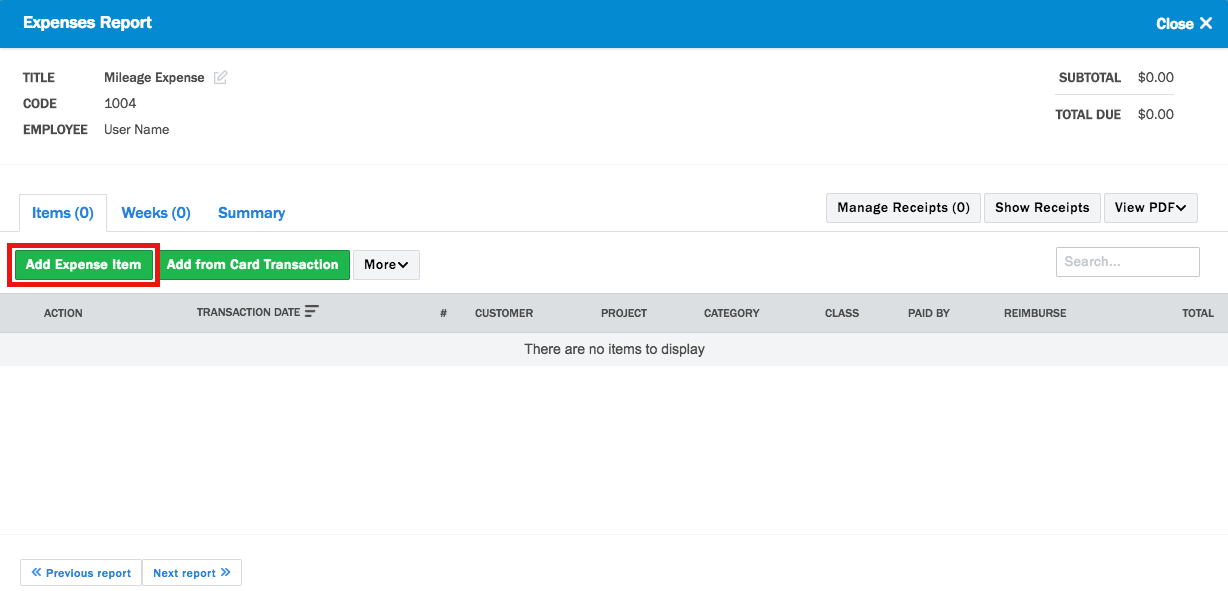
Within the expense item, select your mileage category from the Category dropdown.
Below will be where mileage information can be added. Based on your configuration, there are 3 possible ways, you will only be required to use 1 method.
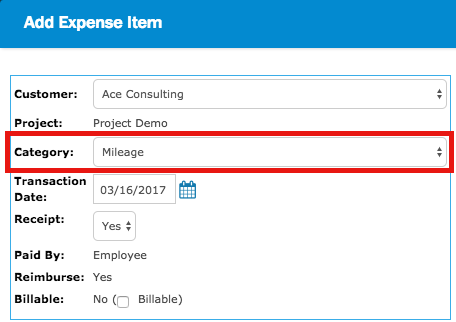
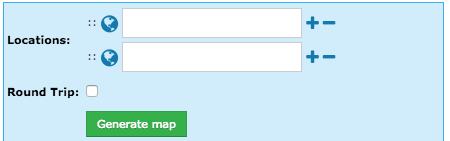
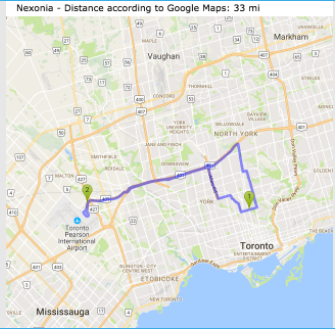
Location Based Services (Google Maps)
Locations is the most common mileage configuration. Using Google Maps to calculate your distance is achieved by entering in Waypoints (addresses or mapping points). They can be entered into the Locations field upwards of 6 times or as few as 2.
- Click and drag the
 icon to re-order the waypoints
 - Click on the
 icon to populate the field with a previously used waypoint.
 - Click Add in the new window to create a waypoint and designate it as a default/home/work/favorite location.
- Click on the
 icons to add/remove waypoints.
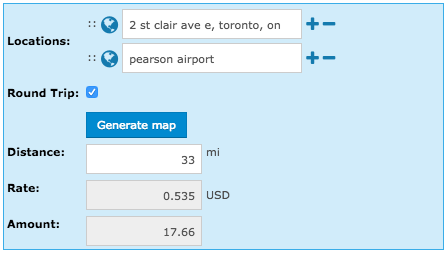
Check the Round Trip box if you returned to the first waypoint. Click Generate map.
Google maps will calculate the total distance and create a map that will be linked as a receipt. The distance will be automatically populated in the Distance field (can be overridden in case of detours). The Distance multiplied by the Rate will populate the Total value.
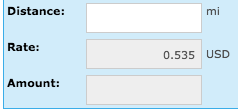
Manual Entry
You may be able to manually fill in your distance into the Distance field to calculate your mileage. If so fill it in. The Distance multiplied by the Rate will populate the Total value.
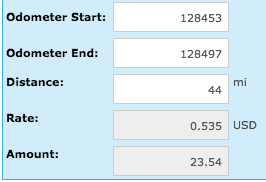
Odometer Values
Enter in your starting and ending odometer values to calculate your mileage. The distance will be automatically populated in the Distance field. The Distance multiplied by the Rate will populate the Total value.
Click Save and Close to create the expense.
Comments
0 comments
Article is closed for comments.