
As an alternative to a third-party provider or a direct feed from your financial institution, Administrators may manually upload credit card transaction files into Nexonia on their own schedule. These transactions can then be used for employees to submit on their expense reports. This article will show you, an Administrator, how to upload credit card files.
Please Note: Before you can add transactions, make sure to set up a manual feed as per this article.
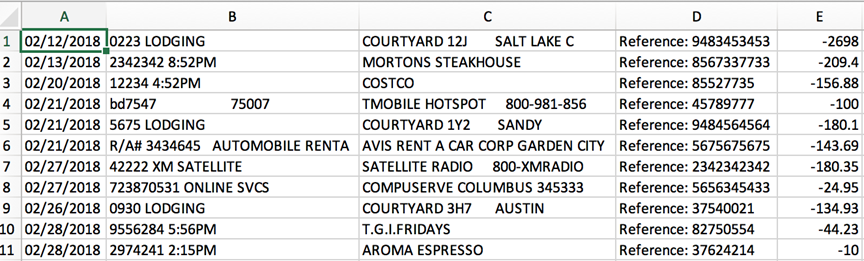
Step 1: Access your financial institution's website, and if available, download your statement with transactions in a .csv format. If you weren't able to find an upload template matching your statement when setting up the feed, this is when you'll need to enter your transaction data into the selected upload template.
Please Note: The transaction file always needs to be in .csv format.
Step 2: Select the Integration tab from the Home screen.

Step 3: Click the Cards tab.

Step 4: Select the manual upload feed in the Card Sources drop-down.
Please Note: The card must be configured in Nexonia to appear in the Source column. See Manually Adding A New Company Card.

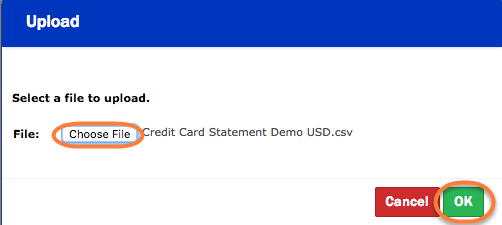
Step 5: Click Upload.

Step 6: Click Choose File to select the .csv file from your computer. Then click OK to upload.
Please Note: If certain transactions should be excluded from this upload, delete them from the .csv prior to uploading.
Step 7: View the uploaded new transaction file on the Cards page.

To assign users to a credit card so that they may start selecting applicable transactions for their expense reports, see Assigning New Company Credit Cards to Users.
Comments
0 comments
Please sign in to leave a comment.