
Nexonia uses an Interface Theme to define the look of your Nexonia environment. This interface theme is where your logo and color scheme are configured, as well as labelling for Nexonia values. Each new Nexonia environment will have a default Nexonia interface theme you can modify, and you can also create new interface themes. The interface theme is then linked to the Role of a user - this can allow you to manage multiple interface themes for different users groups, such as different entities.
Note: any changes you make to the interface theme will be visible to anyone with a role linked to that theme. If you want to test an interface configuration, we recommend creating a separate interface theme you can link to your Administrator role.
To edit your Interface Theme:
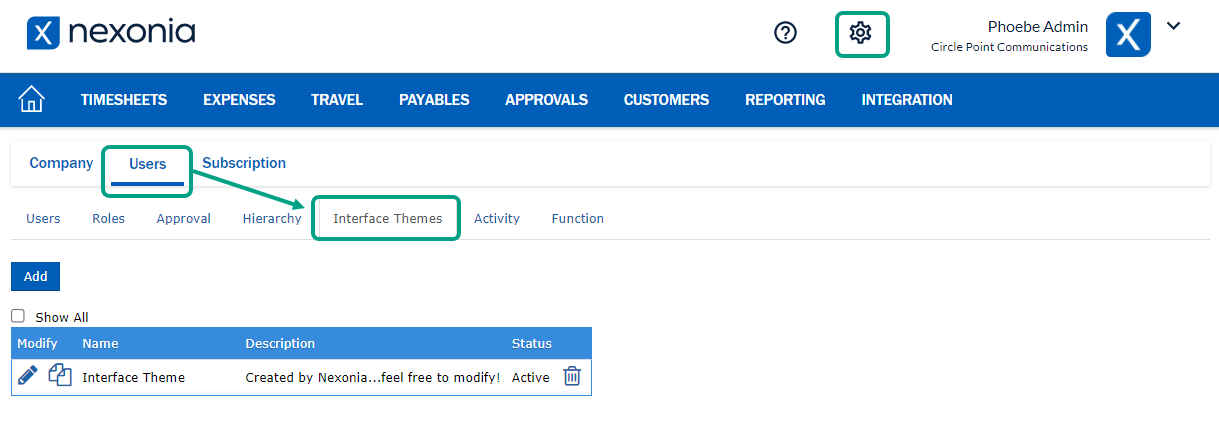
Logged in as an Administrator, go to Settings > Users > Interface Themes

You can either:
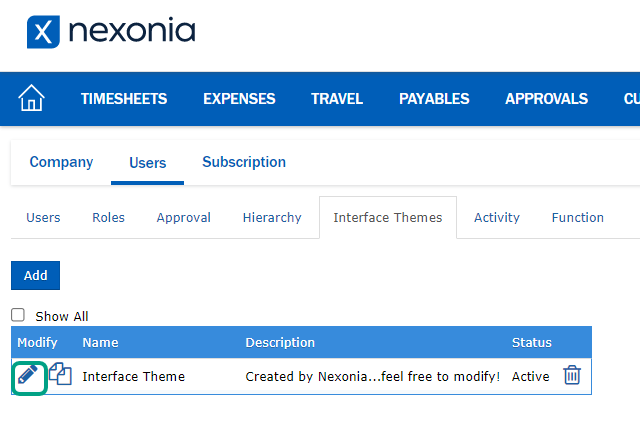
Click the Edit icon next to an existing interface theme;
Click Add to create a new interface theme; or
Click the Clone icon next to an existing interface theme to make a copy of it and edit that copy.
Either option will take you to where you can edit the theme.
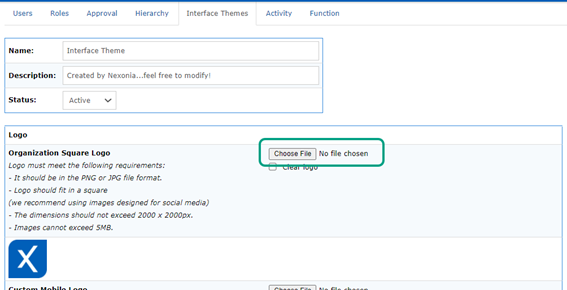
Once you can edit the theme, you'll see the basic information at the top:
Name - name of your interface theme
Description -description for your theme (can be same as name)
Status - Active or Inactive
Below, we'll cover your logo, color scheme and labelling.
Logo
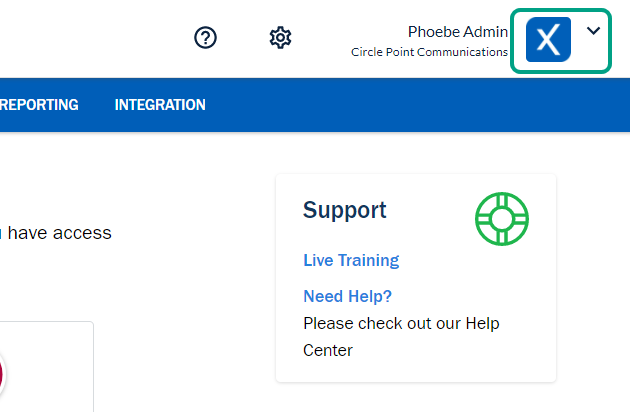
Corporate Logo - this is where you can upload your company's avatar, which will appear in the top right corner of your Nexonia environment on the web.
To upload the logo:
Please Note: Companies without a corporate logo will default to the Nexonia logo.
Step 1: Click the Gear icon to open the Company Settings page. Next, open the Users tab and select Interface Themes.
Step 2: Click the Pencil icon to edit the Interface Theme.
Step 3: Next to Organization Square Logo, click Choose File to upload a logo that meets the image requirements.
It won't be applied to the interface until you click the Apply button at the bottom of the interface configuration. Once you do that, you'll see the new logo.
Other settings related to your logo:
URL if image click - this is where you can paste a website address where users should be directed to if they click the logo. This would typically be your organization's website.
Logo for PDF files - this logo will apply only to PDF copies of the Expense Reports. This should usually be twice the size of your corporate logo. We recommend you scale the logo for the PDF files to around 95px - 120px total, including padding.
Custom Mobile Logo - this logo will be visible on the mobile app along the main menu bar. If left blank, we'll show the default Nexonia logo. The mobile company logo must meet the following requirements:
- It should be in the PNG format.
- The width should be between 124 and 785 pixels.
- The height should be exactly 124 pixels.
To obtain the best results, we recommend:
- Using a white logo, on a transparent background.
- Make the visible part of the logo use up the full height of the image.
Color Scheme
Your color scheme defines the colors used in your Nexonia environment. Color codes are entered as Hex Color Codes, which start with a ‘#’ and 6 alpha-numeric digits (ex. #98C02A).
For the color scheme, create a color scheme that matches your organization's brand identity and isn’t distracting. There are many image tools online that can help you to identify a main or “primary” color and a complementary color scheme.
The fields in the interface theme related to color are:
Primary color - Primary color used in customer’s brand identity. Avoid yellow if possible.
Secondary color - Secondary color from the customer’s brand identity, a lighter version of the primary color, or a medium grey (#7A7A7A). Avoid red.
Key button background color - Key color should complement or contrast with your primary color, so that it stands out.
Header Footer background color - We recommend using white (code #FFFFFF).
Custom Mobile Color - The color will be visible in many parts of the mobile apps. Since we adopted a light theme, we recommend choosing a color that will make a good contrast with white.
Once you enter your values, scroll to the bottom of the menu and click Apply. You should see the results on the web immediately. Changes to mobile app themes should appear once the mobile app user syncs the app.
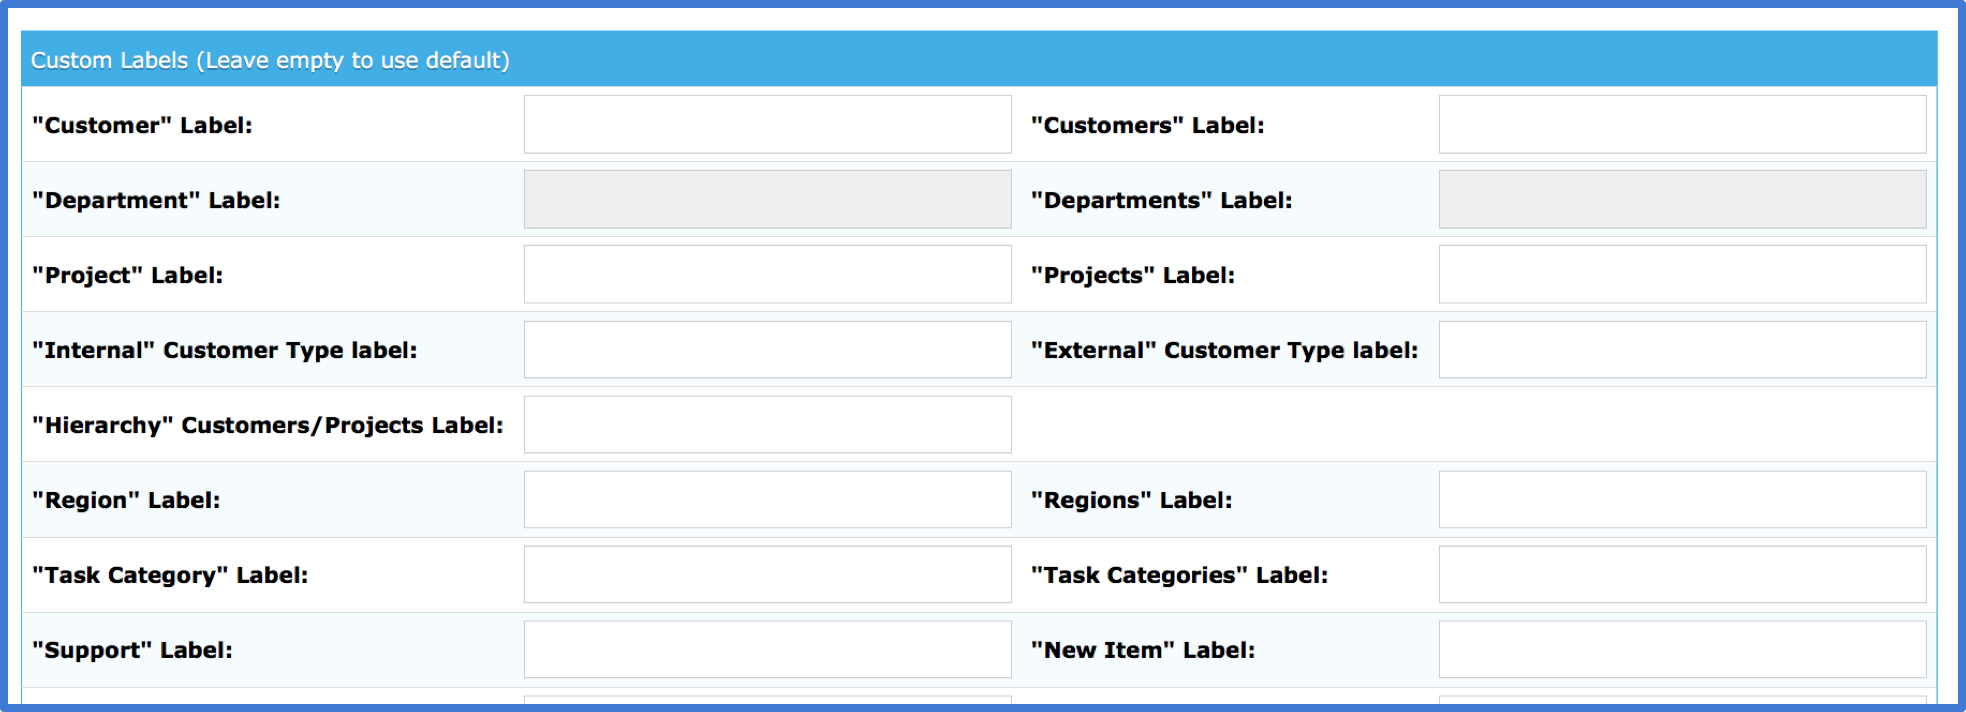
Custom Labels
Below the logo and color scheme options you’ll see some options to customize the labels. The values in the quotation marks are Nexonia’s default names for dimensions or values. You can relabel these to use the terminology for your organization. For example, the “Customer” label could be relabeled “Client” or “Program”; “Project” could be relabeled “Job” or “Fund”.
Note: if dimensions are being integrated from a web-based ERP such as Intacct or NetSuite, the names for those dimensions will be driven from the ERP through the integration.
For Custom Fields, those labels are managed in the Custom Field settings under Settings > Company > Custom Fields.
For some values, you’ll see options for the singular to the left, and plural on the right.
A common one you may want to customize is "Integration" Label, which appears along the top menu bar. The label should be the name of the ERP/Accounting system and/or other integrated system or export.
Some other possible fields for relabelling:
- "Task Category" - for timesheet tasks.
- "Expense Category" - for expense items.
- "Add Expense Item" Label - label for the button in the expense report which users use to create employee-paid expenses. You may prefer "Add Out of Pocket Item" or "Add Reimbursable Expense".
- Expenses "Memo" - for expense items. For example, you may prefer "Business Purpose".
- "Expenses" Label:- label for the Expenses module.
- "Timesheets" Label - label for the Timesheets module
Once you enter your values, scroll to the bottom of the menu and click Apply.
Linking Interface Themes to Roles
The interface theme a Nexonia user sees is based on their role. If your Nexonia environment only has one interface theme, that becomes the default for everyone. If you have multiple interface themes, you can link them in the Role settings.
Roles are found under Settings > Users > Roles.
To modify a role, click on the Modify (pencil) icon to the left of the Role name.
In the role, under the General tab, you'll find the setting Interface Theme.
Select the interface theme to be used for this role.
Scroll to the bottom and click Apply. Any users with that role will now see the new interface theme the next time they refresh their browser or app, or log in to Nexonia for the first time.
Linking Interface Themes to Users
If necessary, you can link a Nexonia user to a specific interface theme using their User profile. By default, this field defaults to the Role for the interface theme, but you can override that by selecting a specific interface.
Users are found under Settings > Users > Users.
To modify a user profile, click on the Modify (pencil) icon to the left of the user's name.
In the user, under the General tab, you'll find the setting Interface Theme. The default is "Role Default", which means it pulls the interface theme based on this user's role.
Select the interface theme to be used for this user.
Scroll to the bottom and click Apply.
Comments
0 comments
Article is closed for comments.