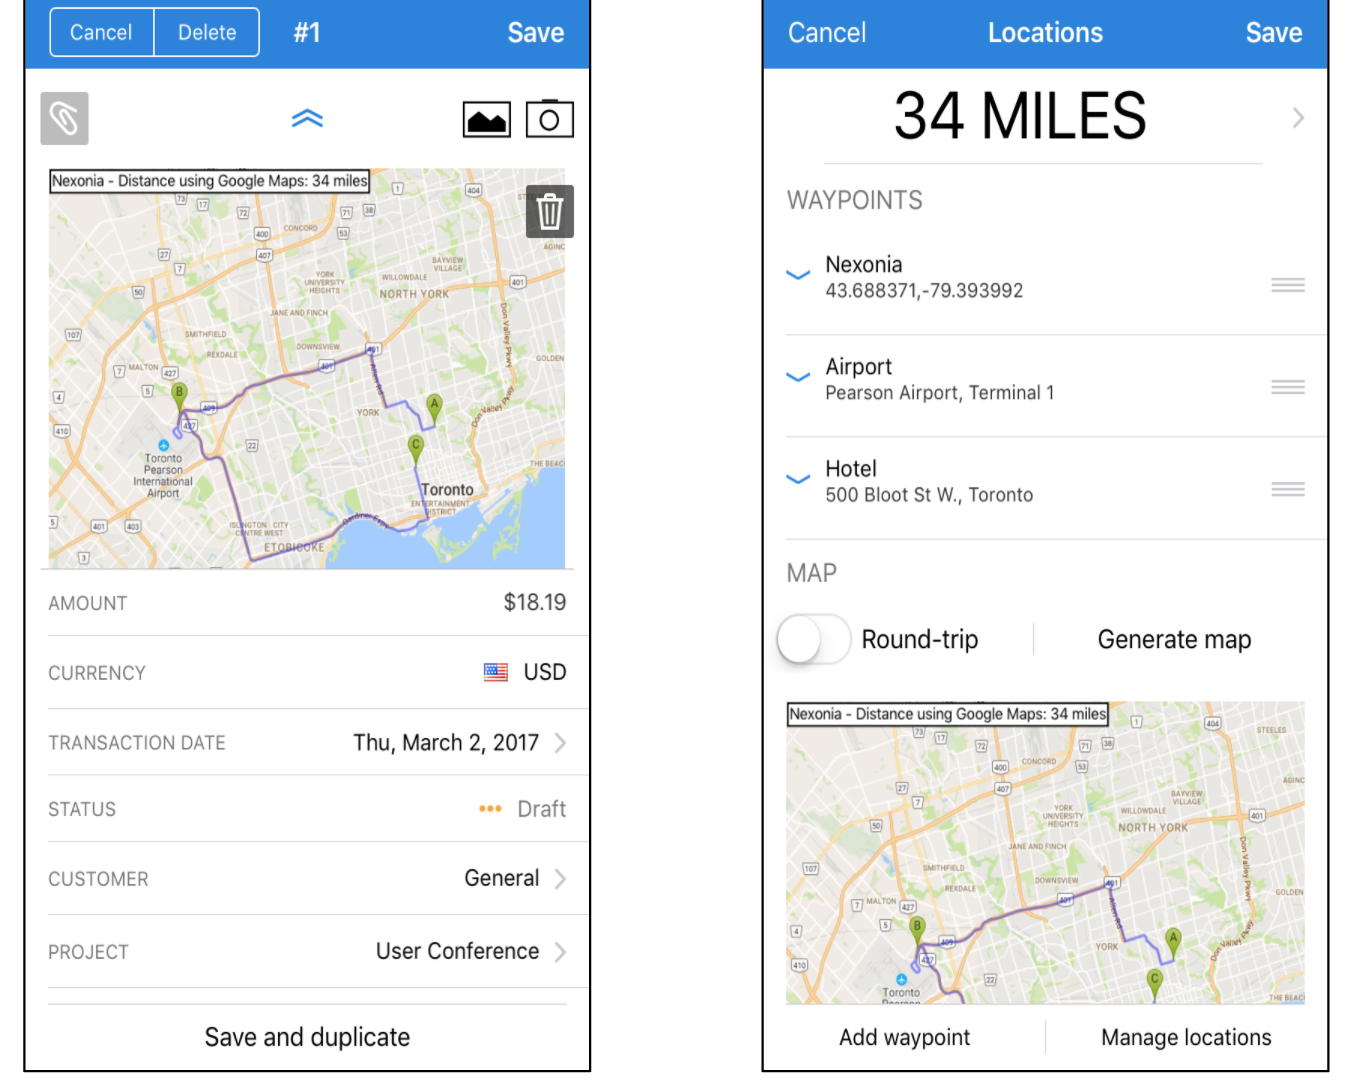
"Mileage" is a distance based expense reimbursement to an employee if they use their private vehicles for business-related travel. The amount is typically based on the suggested IRS mileage rate. Rates can be either updated automatically form the IRS every new year, fixed by the administrator with an effective date or set as a manual entry by the user (rarely used). Multiple mileage categories can be created if needed, based on different rates, currencies or regions.
The distance travelled by the submitter can be automatically generated via Google Map integrated locations (most common), manual odometer values, or manually entered by the user.
Creating a Mileage Expense Category
Logged in to Nexonia on the web:
- Click on the Settings icon
- Navigate to the Company > Expenses > Categories
- Click the Add button to add the new category and enter the details for category.
Note: for Intacct or NetSuite integrated accounts: create the new expense type(s) in your ERP, and run the Nexonia configuration sync to automatically create the new Nexonia expense category.
When configuring a Mileage category, the main required setting is Type. Choosing Distance will expose the distance-based settings for the category.

The Mileage related settings are:
Name: Name of the expense category visible to the users.
Number: Optional identifier for the category, typically an internal ID or description.
Type: For Mileage, choose Distance.
Memo Requirement: If you want to ensure the expense submitter includes comments or business purpose on the mileage expense, make the memo "Required".
Distance Unit: Can be set to either “Miles” or “Kilometers”.
Distance Rate Currency: Should be set to the currency to be used for the mileage rate.
Distance Rates Mode: Should be set to "Automated". Below that, choose "IRS Mileage" as the source.
Locations: Nexonia uses a Location based mileage function with Google Maps. Here, you can enable it as either “Optional” or “Required”.
Odometer Values: this is to allow an option to enter Odometer Values if you prefer that model.
Receipt Default Value: this is the default for whether you expect a receipt or not. If using Locations based mileage, leave it at “Yes” as the system will generate an image of the map and link it as the receipt.
Scroll to the bottom of the menu, click Apply and your settings are in effect.

Once you've completed the configuration for the mileage category, scroll to the bottom of the menu and click the Apply button to save this category and its settings.
Here's how a Mileage expense item would look to the expense submitter when added to an expense report:


Comments
0 comments
Article is closed for comments.