
As a best practice during your implementation or as part of making configuration changes, you should create an expense report with a couple of expense items, submit and approve it, and then export it to ensure everything is working as expected.
As an administrator, you’ll be able to do this test, act on behalf of any Nexonia users as a proxy, and can choose to delete the test items from Nexonia afterwards.
Note: we recommend reviewing your notification settings so you can suppress or enabled the emails during the test as needed.
Creating The Test Expense Report
We’re going to move to the Expenses Module and create a quick expense report. On the web, navigate to the Expenses Module by clicking Expenses in the top menu bar.
If your user profile has a corresponding vendor or employee value in your accounting platform, you can create the Expense Report for yourself.
If not, you need to choose a supported user from the dropdown menu (1) on the left.
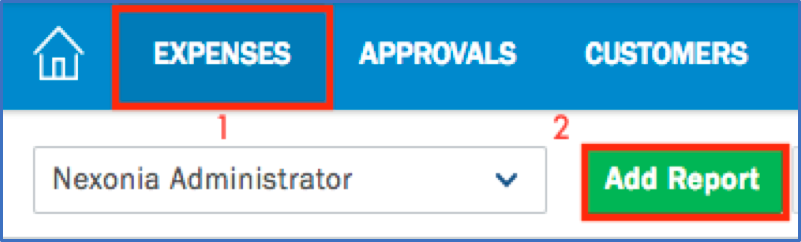
Click Add Report (2) and name your report (i.e. “Export Test”).
Click the Save button. A new pop-up window will appear and you now inside of the new expense report.
Click the Add Expense Item button to create an expense item.
Enter the details for your test expense. Anything above the total is required, anything below the total is optional unless the field is labelled in red. You can choose to add a receipt image for testing purposes or not.
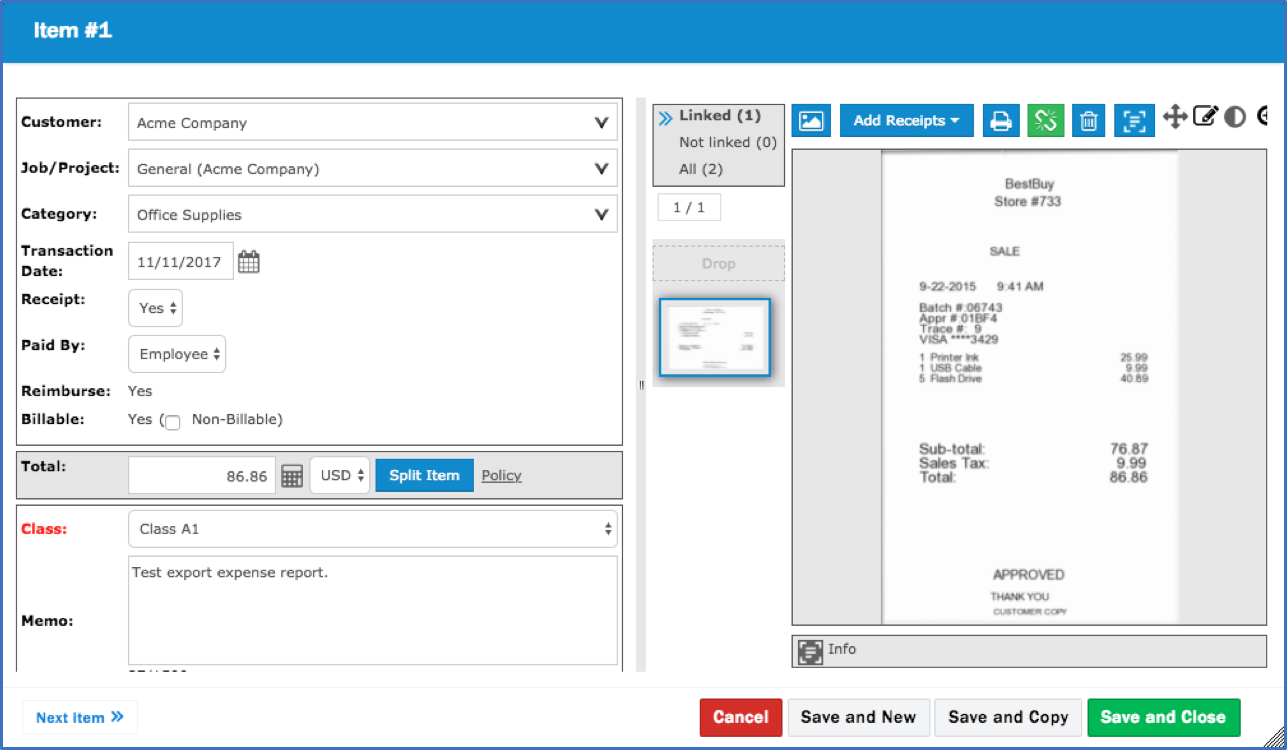
Click Save and New and create a second item with some different values.
Once you’ve created your last item, click [Save and Close].
Submitting the Test Expense Report
Here we have our expense report with our test items:
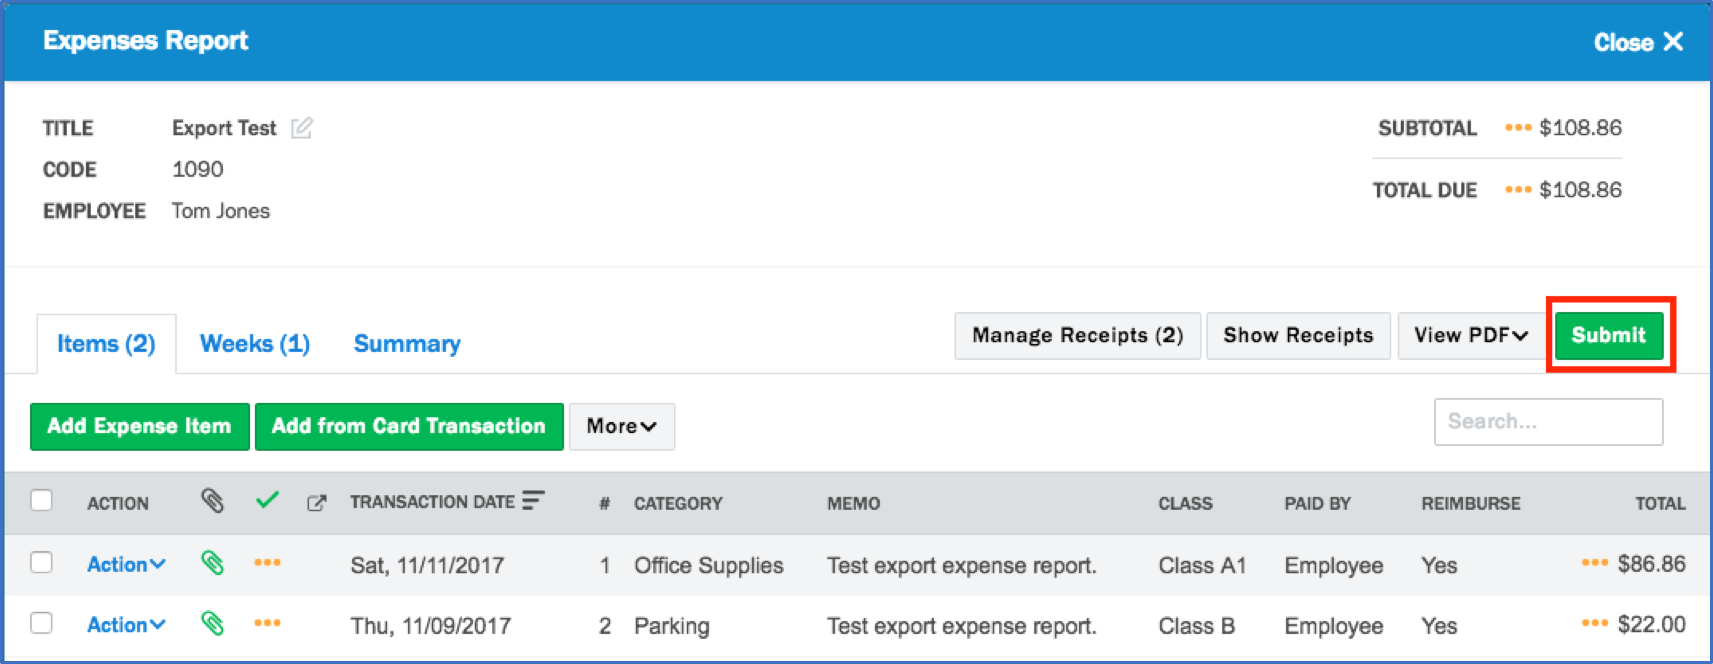
Under the checkmark to the left of each expense line item, we see the status of the expense item.
These items are currently in Draft ••• status. To export, they must be submitted and fully approved.

Click the Submit (1) button in the top right corner of the expense report.
You’ll see the status change to Submitted > and the name of the approver. If there is no supervisor for this user, the item status would be Approved since there is no approver for this user.
Click [Close] to leave this screen and return to the Expenses homepage.
Approving The Test Expense Report
Click on the Approvals tab on the menu bar. You’ll see anything available for approval under this tab. As an administrator, you’ll be able to act on behalf of any users. If you don’t see any expenses for approvals, click on the dropdown menu to the left and choose “All Users”.

As this is just a test report, we can do a quick approval on it.
To the left of Action, click on the check box to select the expense report.

Once selected, click the [Approve] button. The report should disappear as it is now fully approved and no longer in the approval queue. You can see it if you move to the Expenses module. This report is fully approved and available for export.
Exporting The Test Expense Report
See Exporting Expense Reports to test your new test report.
Additional articles of interest:
Comments
0 comments
Article is closed for comments.