Accounting
Connect to accounting software, download statements, and manage lists.
Training Calendar
Submitting & Approving Expenses
Alternating schedule
How to login, upload your receipts, create and expense reports for approval, and approve expenses.
Submitting & Approving Time Off and Timesheets
Alternating schedule
A walkthrough of how to create, submit, and approve Timesheets and Time Off requests.
Reporting Module Overview
Alternating schedule
An overview on how to create and generate reports.
Configuring Expense Settings for Admins
Alternating schedule
How to manage your company's data and settings.
Configuring Timesheets & Time Off Settings for Admins
Alternating schedule
How to manage timesheets and time off settings and policies for your company.
Managing Nexonia with Intacct
Alternating schedule
An overview of how Nexonia is integrated with Intacct. Learn how to import and export data between Nexonia and Intacct, manage users, expense categories and Intacct dimensions.
Managing Nexonia with QuickBooks
Alternating schedule
An overview of how Nexonia is integrated with QuickBooks Desktop or QuickBooks Online. Learn how to import and export data between Nexonia and QuickBooks, manage users, expense categories and QuickBooks dimensions.
Managing Nexonia with NetSuite
Alternating schedule
An overview of how Nexonia is integrated with NetSuite. Learn how to import and export data between Nexonia and NetSuite, manage users, expense categories and NetSuite segments.
Travel Booking & Analytics
Alternating schedule
Review how to book travel, run reports, & view unused tickets.
Watch Nexonia's easy-to-follow brief tutorial videos here.
Training Videos
Using Emburse with Xero Connecting Emburse with QuickBooks Online
-
Use our direct Xero integration to connect your bank statements to Xero.
Connect Emburse and Xero
You will need either Accounting or Admin permissions to access the Accounting page.
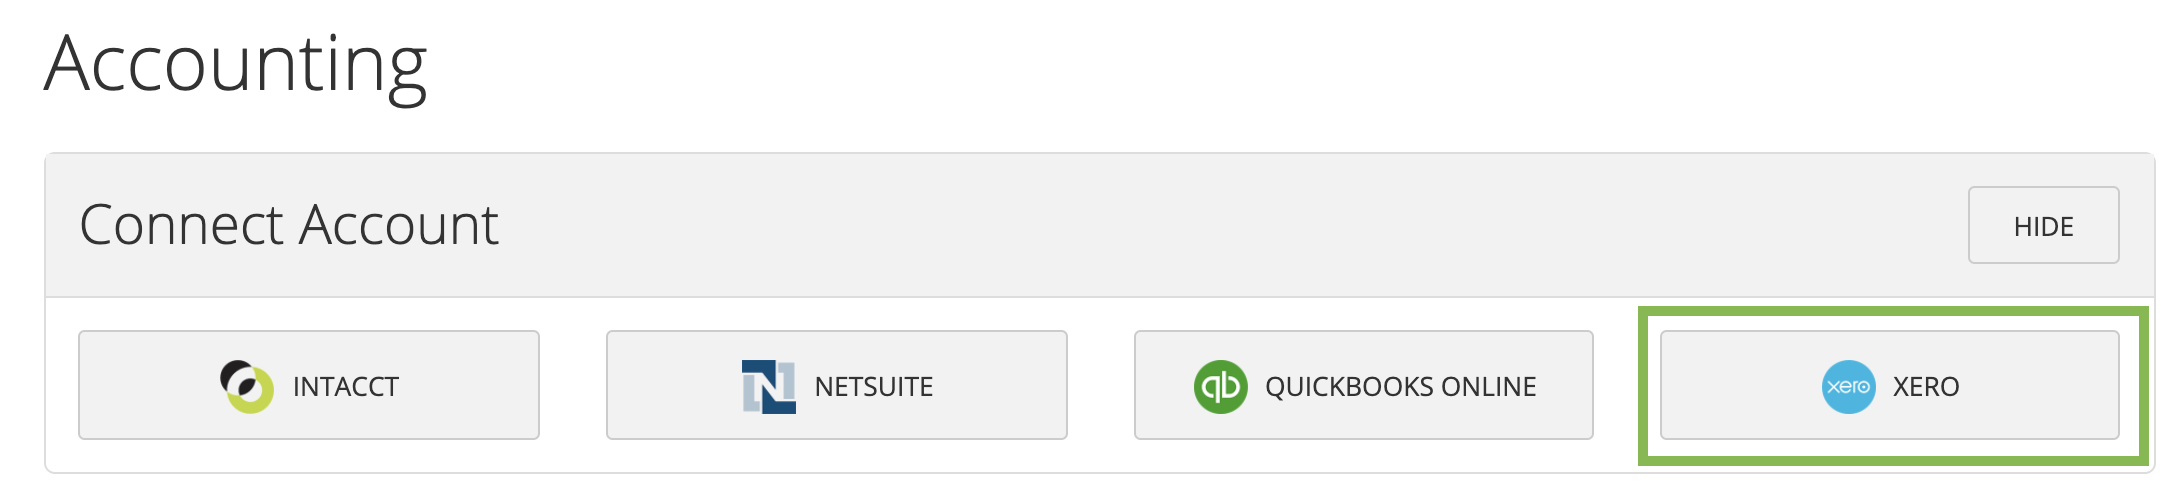
1. Go to the Accounting page.
2. Under "Connect Account", select "Xero".
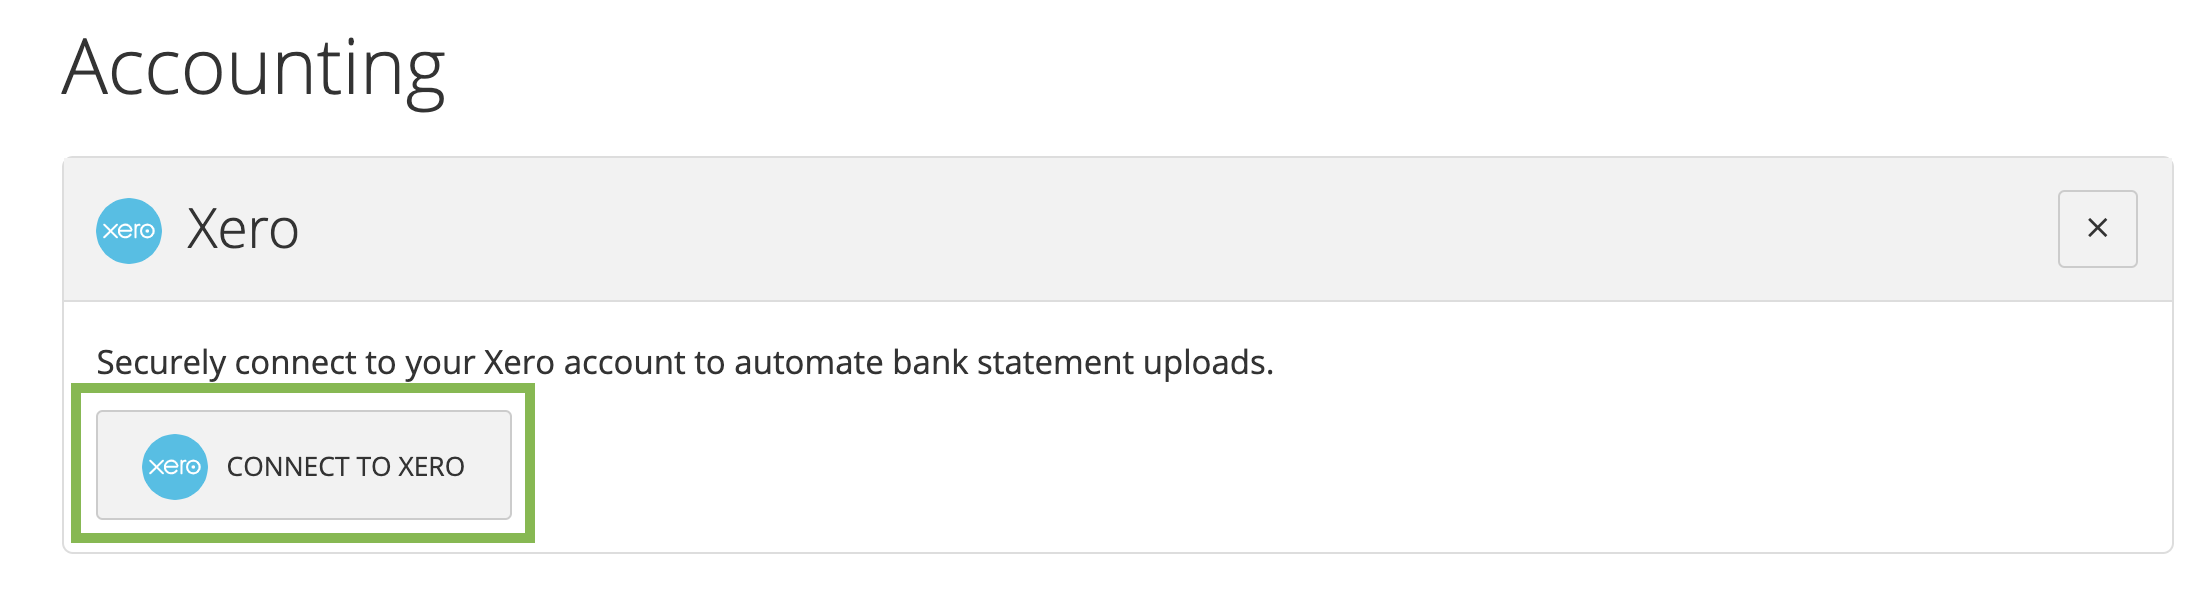
3. Select "Connect to Xero".
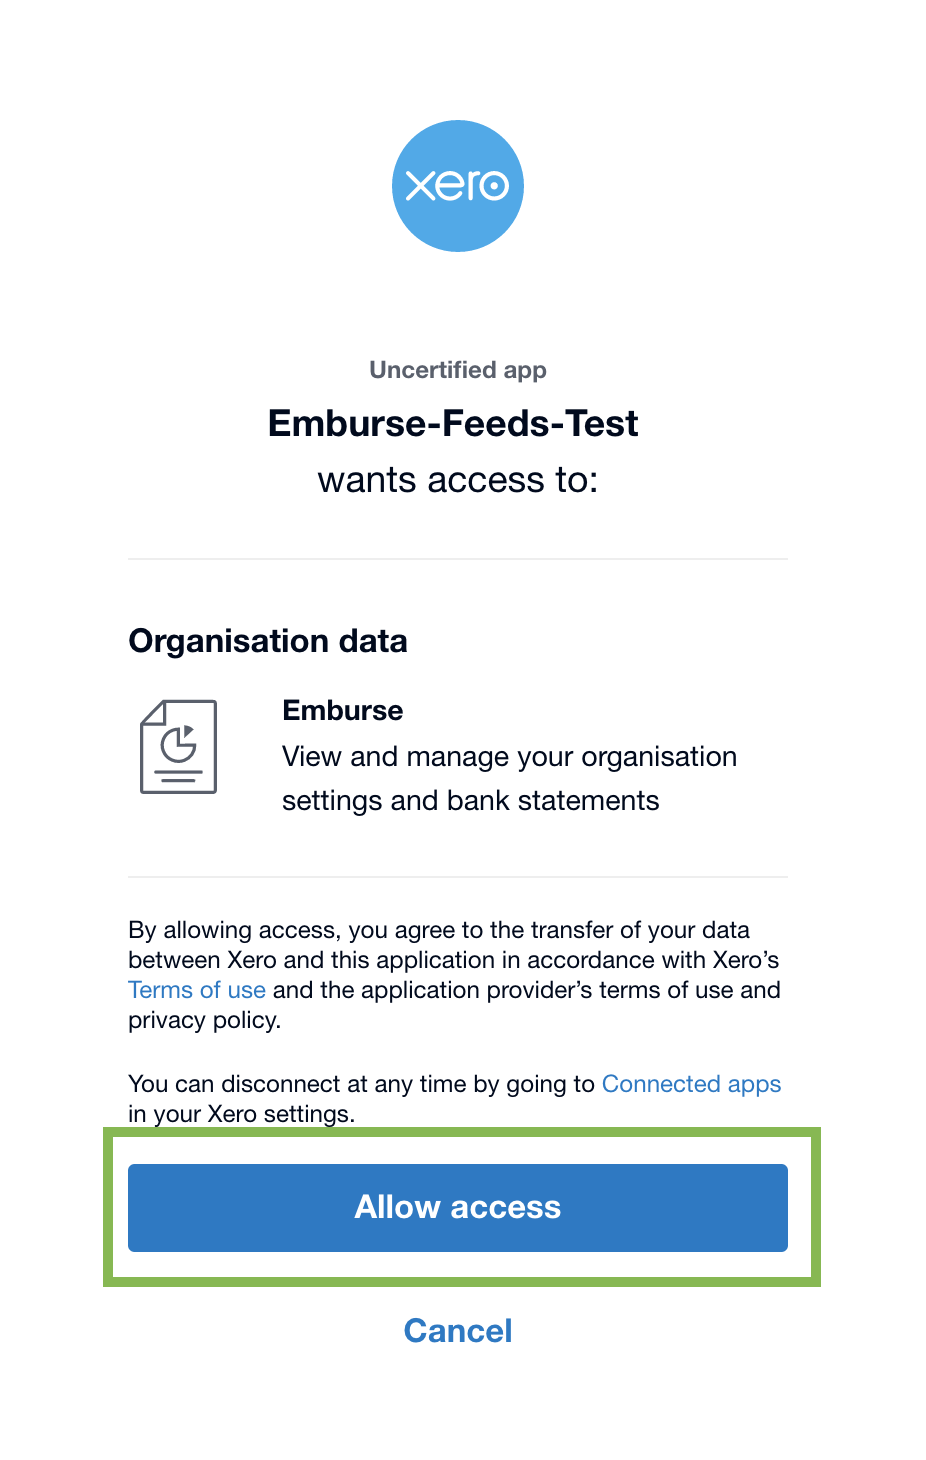
4. If you have multiple Xero organizations, select the Xero organization you want to add the Emburse account to. Then press "Allow Access".
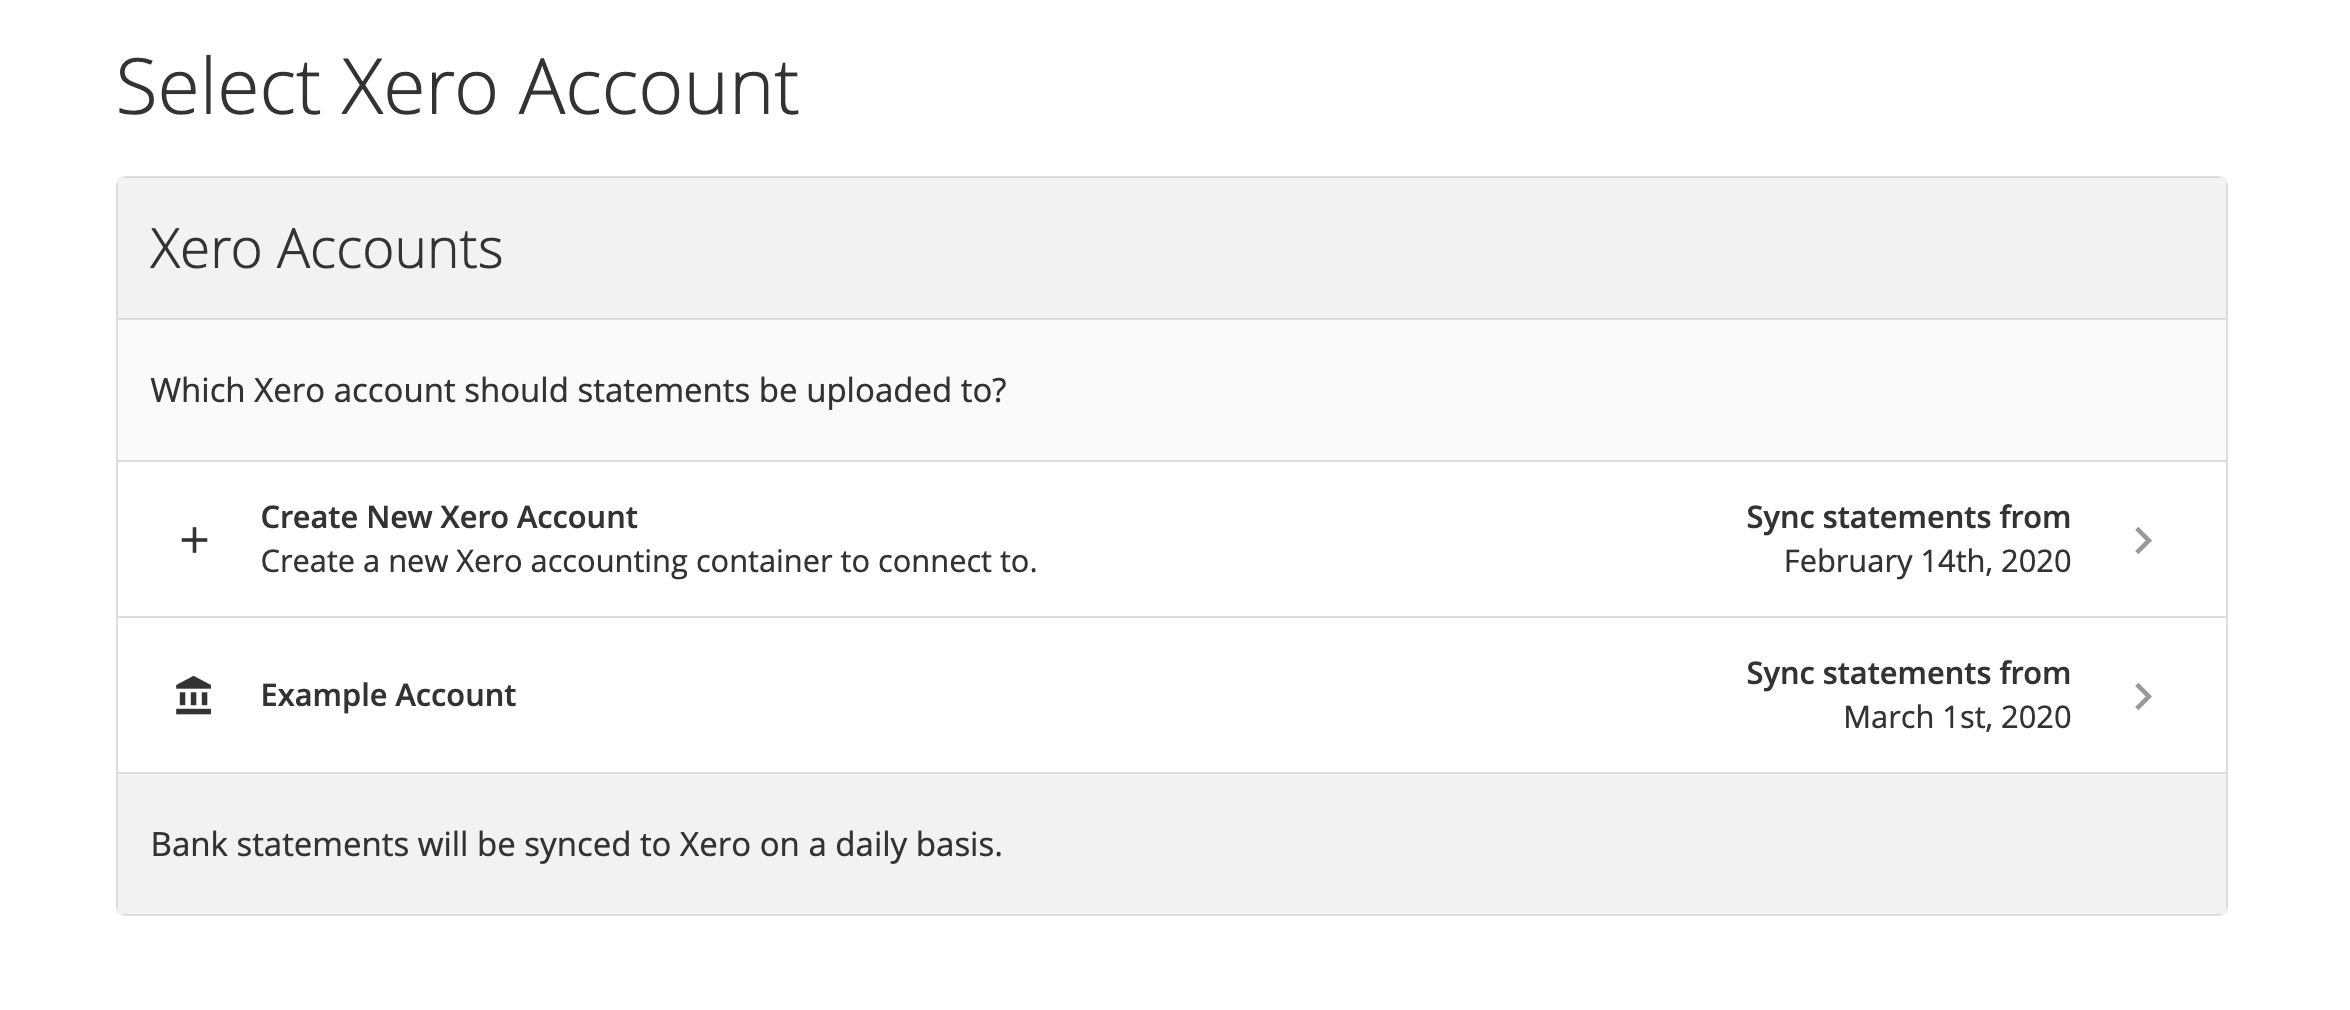
5. Create a new Xero account or select a current Xero account you want to connect with Emburse.
- Creating a new Xero accounts will sync past statements from 60 days ago.
- Selecting a current Xero account will sync statements from the first of the last month.
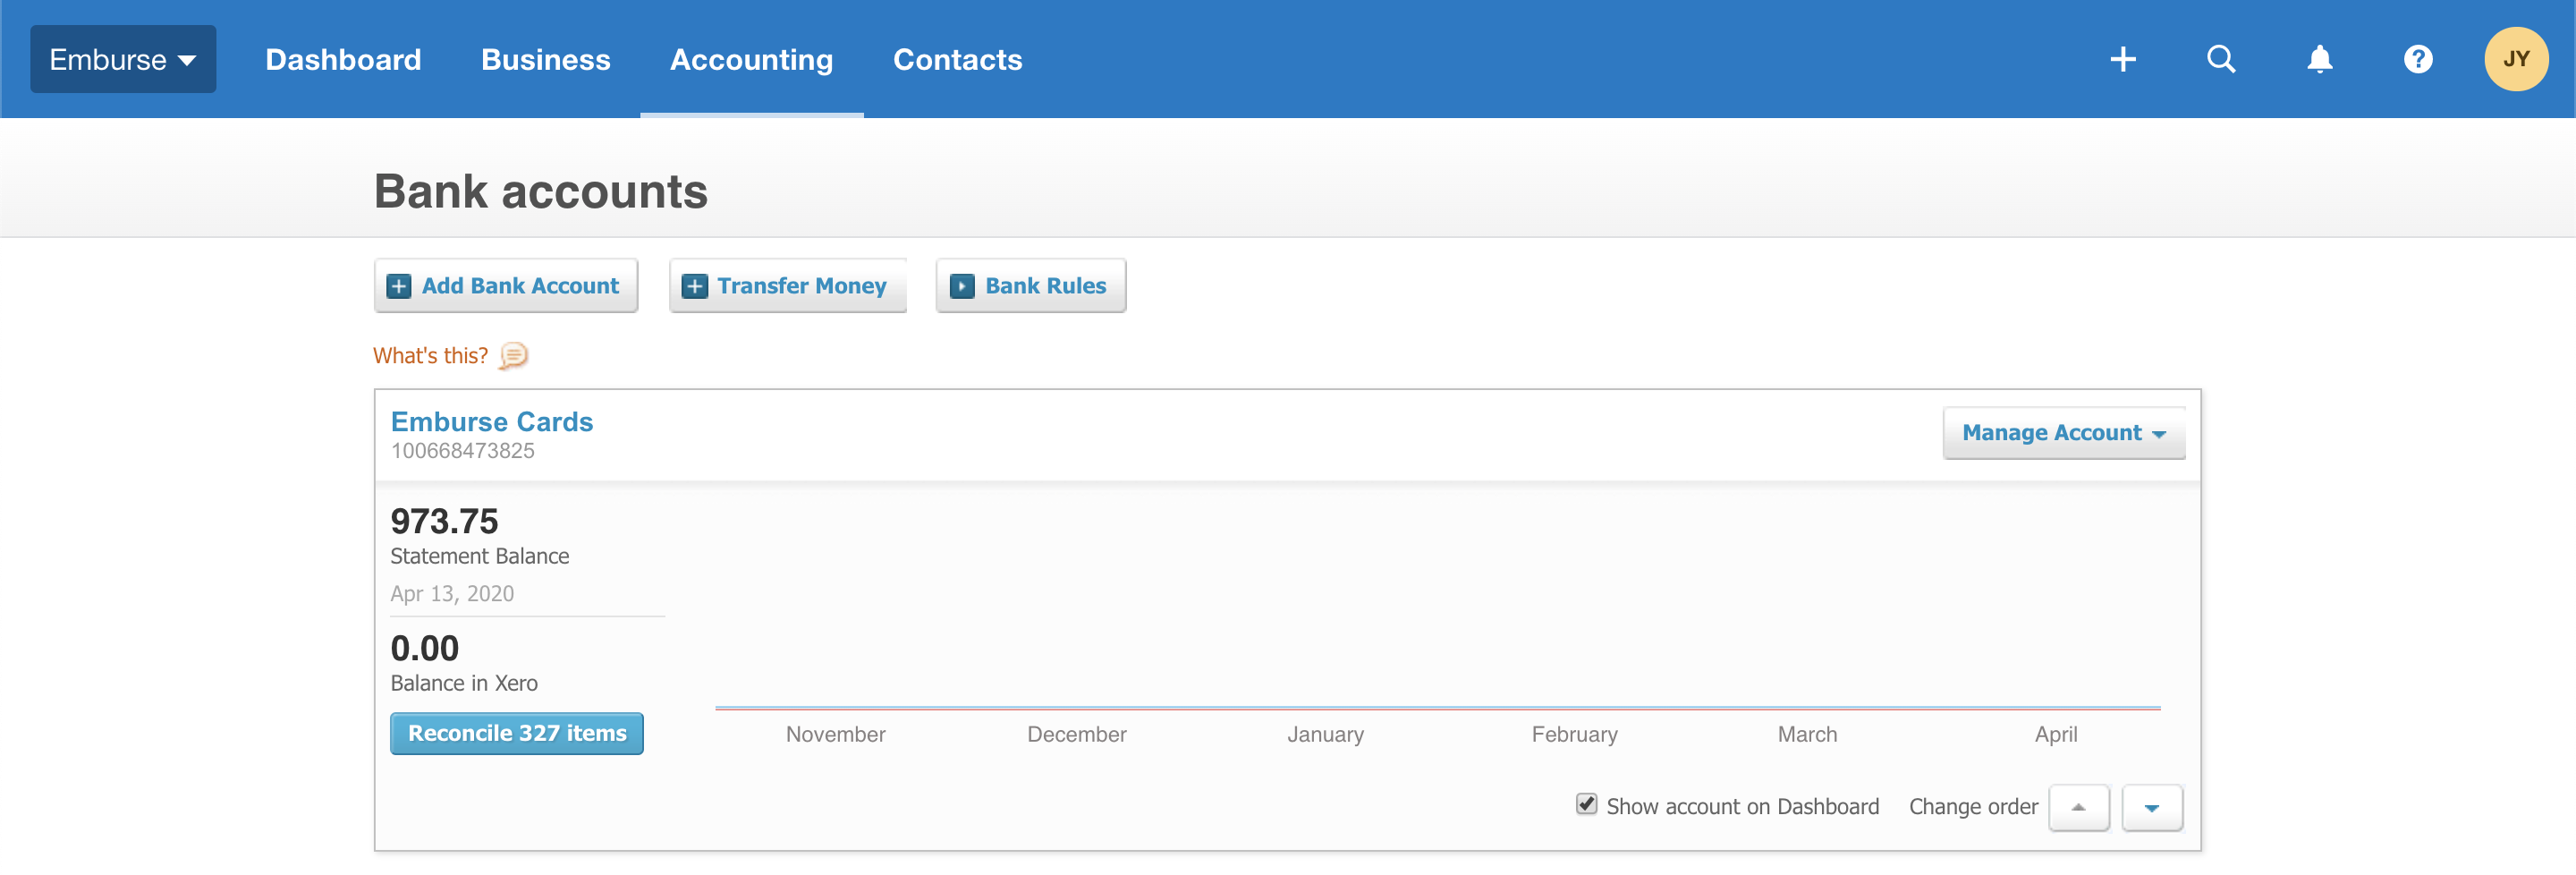
6. Your selected Xero account will then be connected to Emburse.
You can view the Emburse account on the Xero Bank Accounts page.
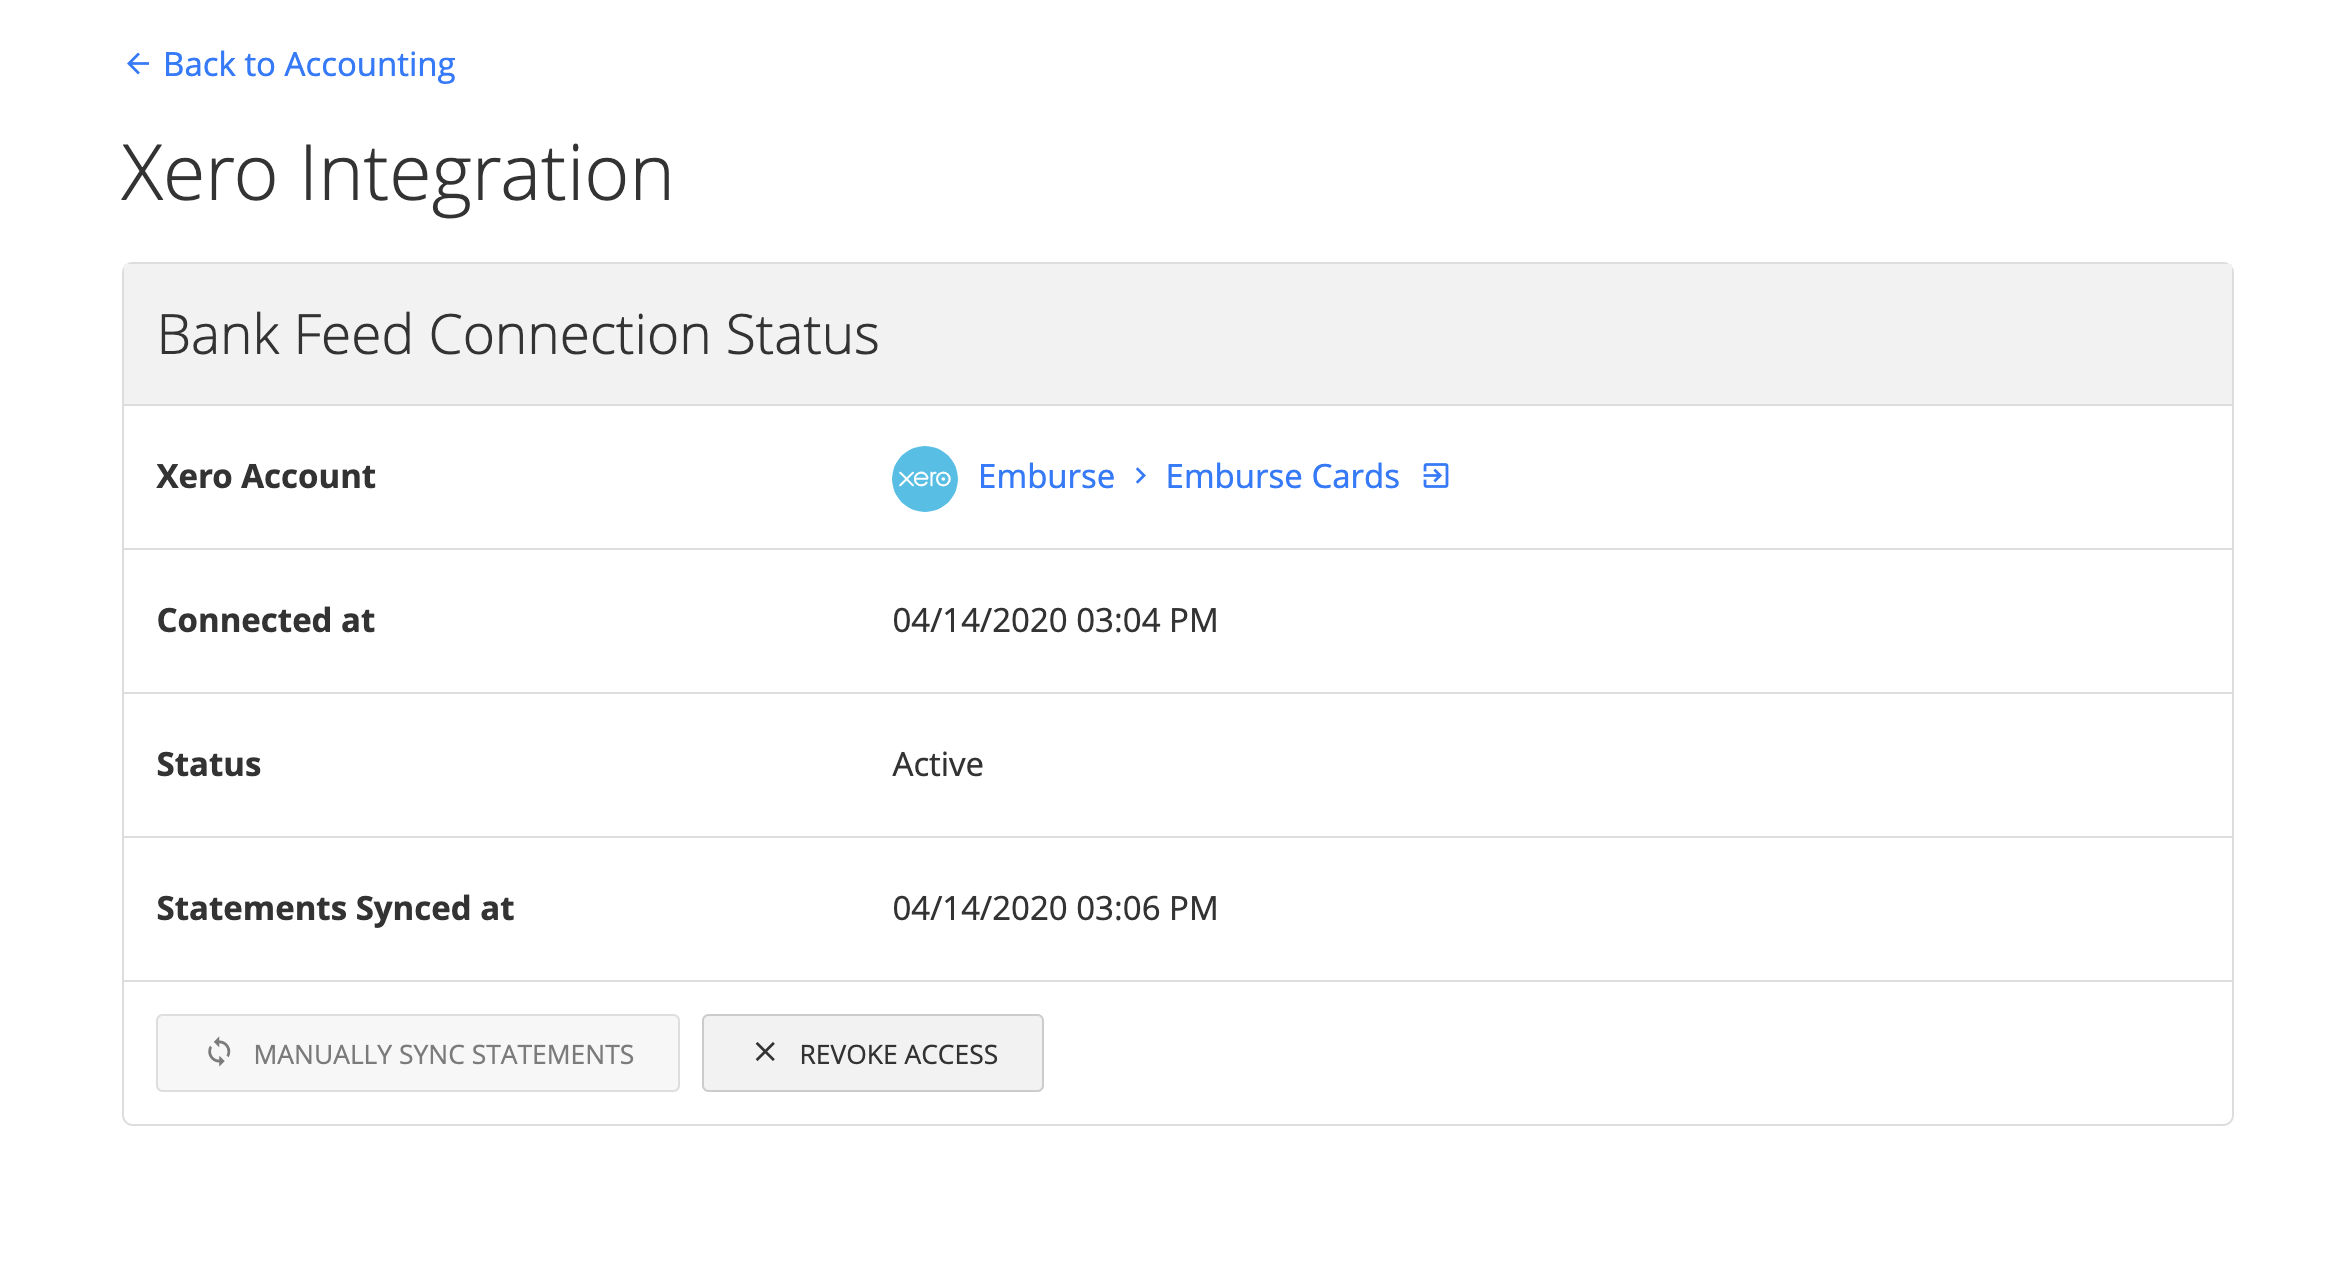
About the Emburse and Xero Connection
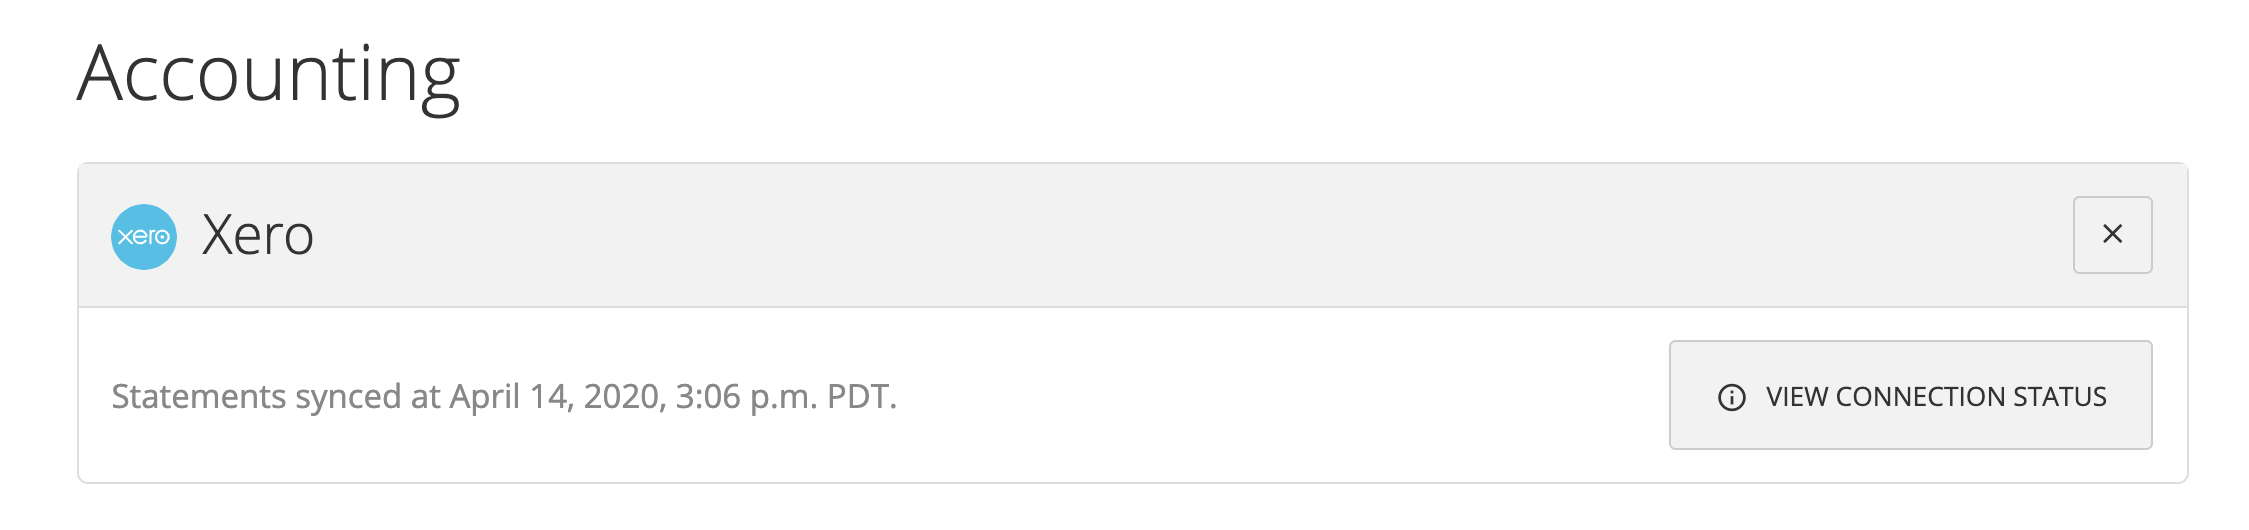
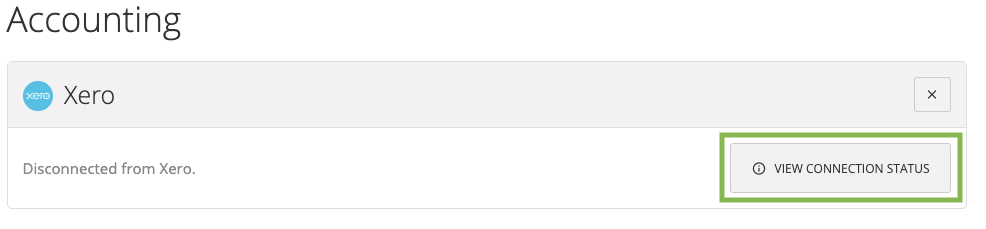
View connection
To view the connection, go to the Accounting page and click on "View Connection Status".
Syncing
Any new posted transactions will sync to Xero daily.
If you would like to sync the transactions manually, you can click on "Manually sync statements" on the Xero connection page.
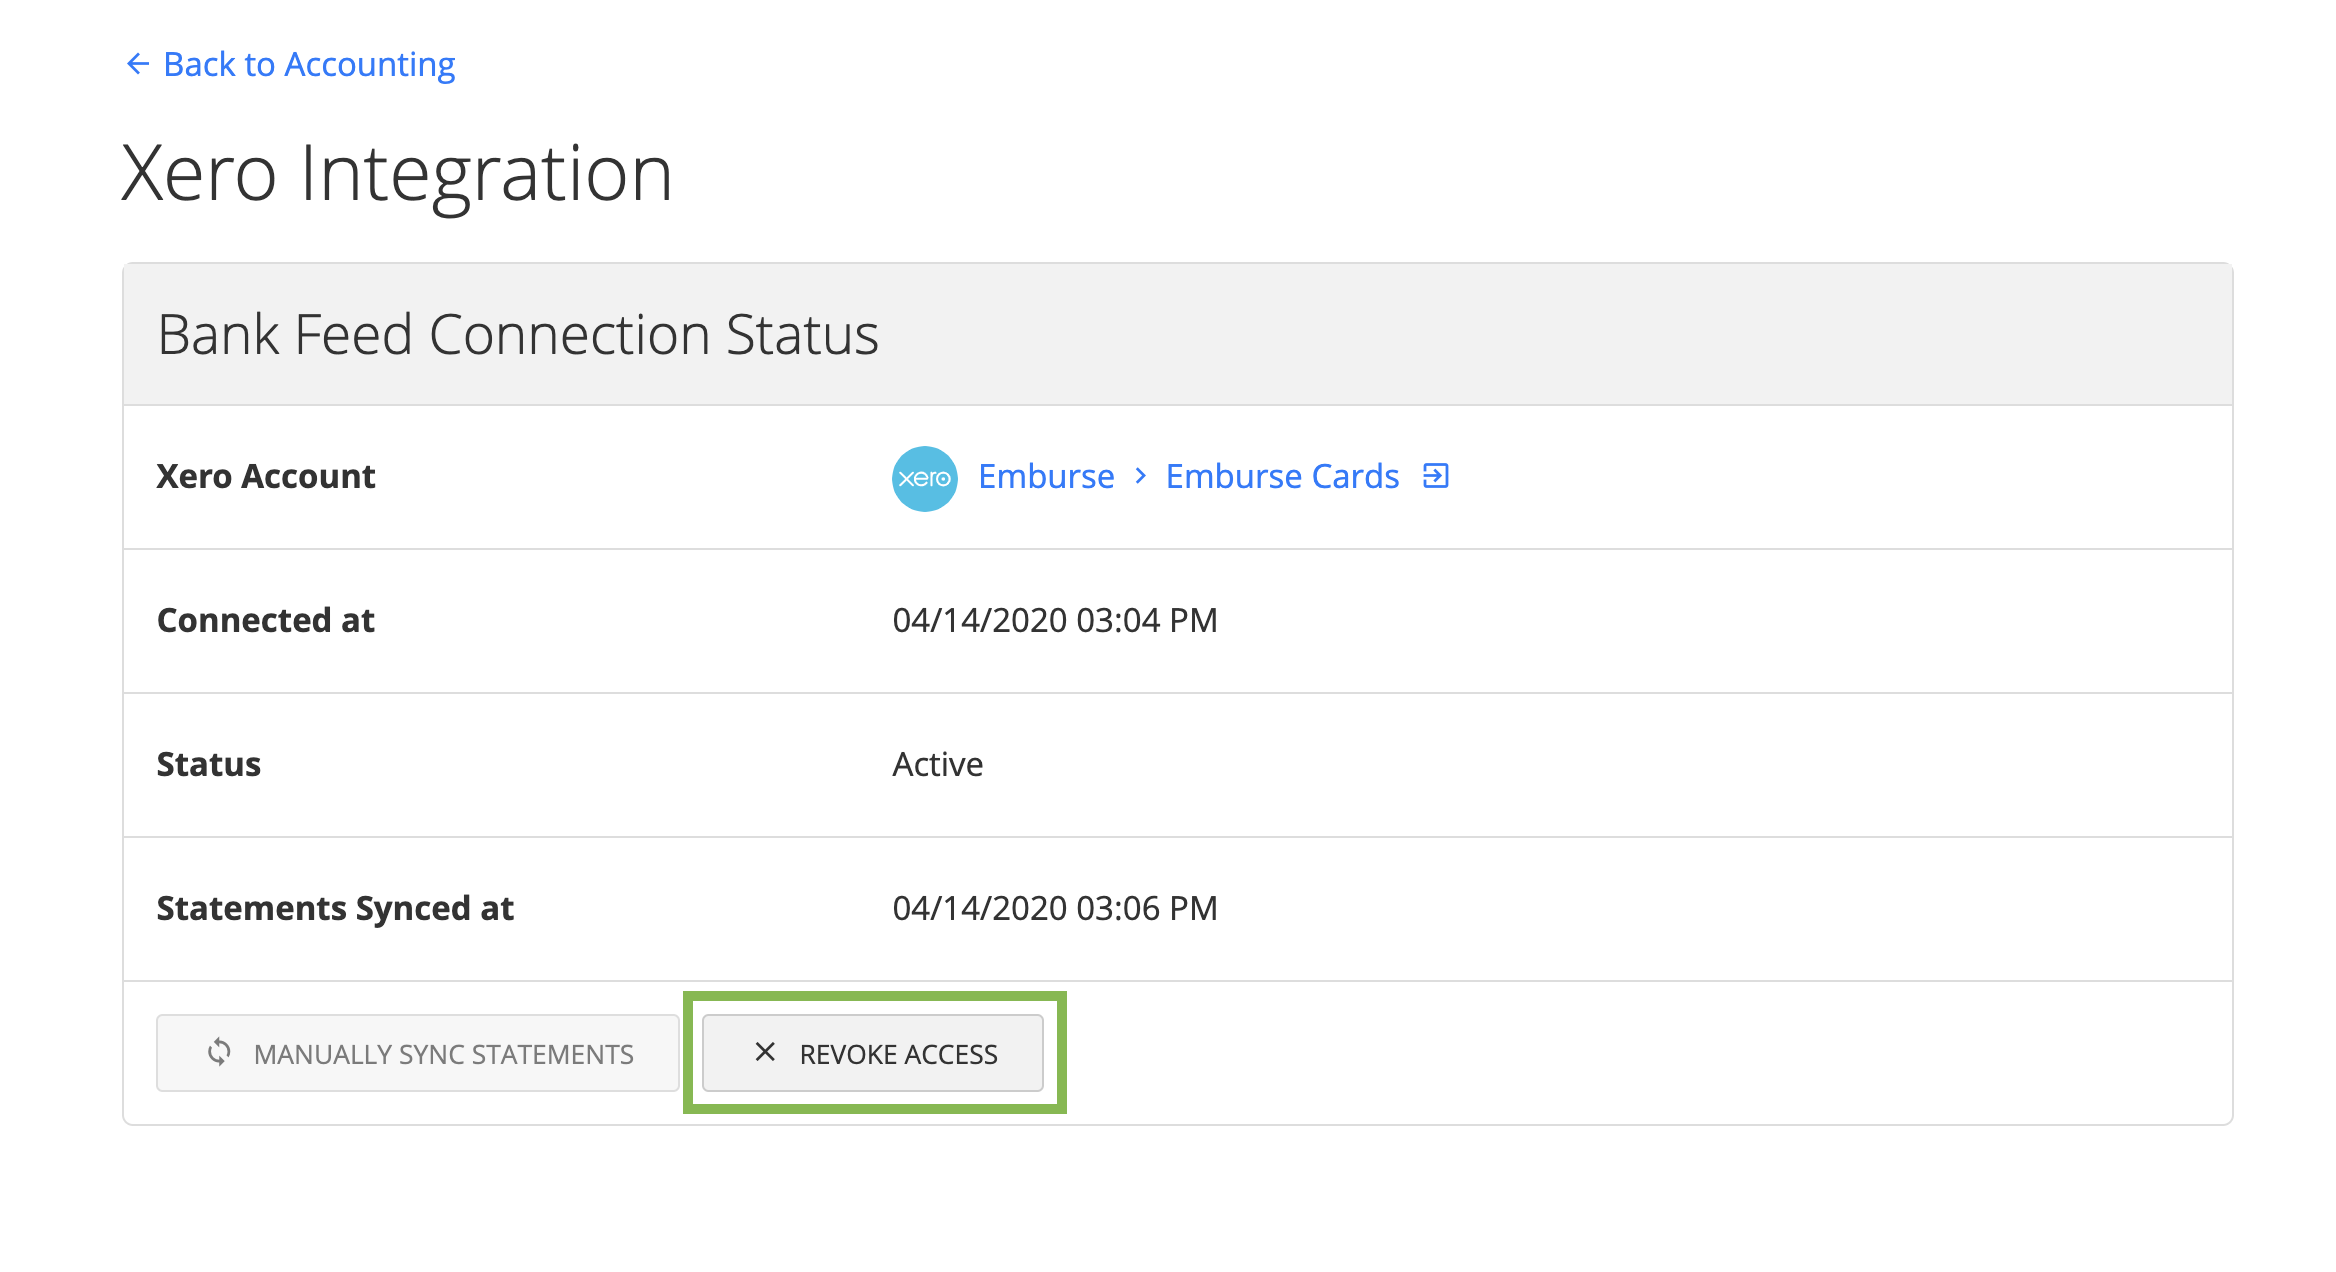
Removing Xero from Emburse
Under the Xero Integration connection page, click on "Revoke Access" to remove the connection between Emburse and Xero.
Reconnecting Xero to Emburse
When changes occur from within Xero, such as revoking access to Emburse, or if there was an error during the one of the periodic statement syncs the connection between Emburse and your Xero account can be disconnected.
1. Go to the Accounting page.
2. Under "Connect Account", select "Xero".
3. Select "View Connection Status".
4. Select "Reconnect To Xero Account".
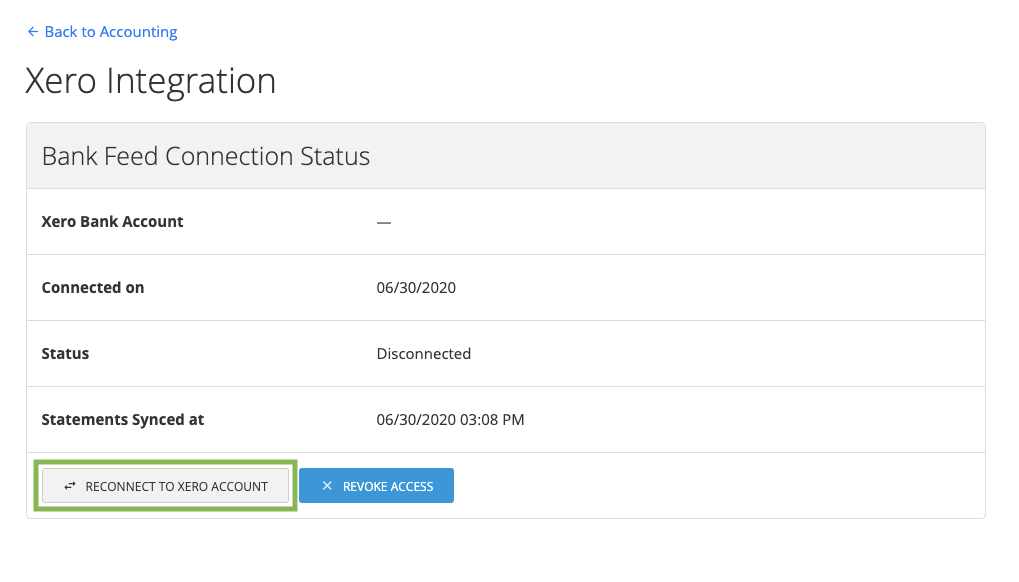
5. Create a new Xero account or select a current Xero account you want to reconnect with Emburse.
6. Your selected Xero account will then be reconnected to Emburse.
-
Connecting Emburse and QBO
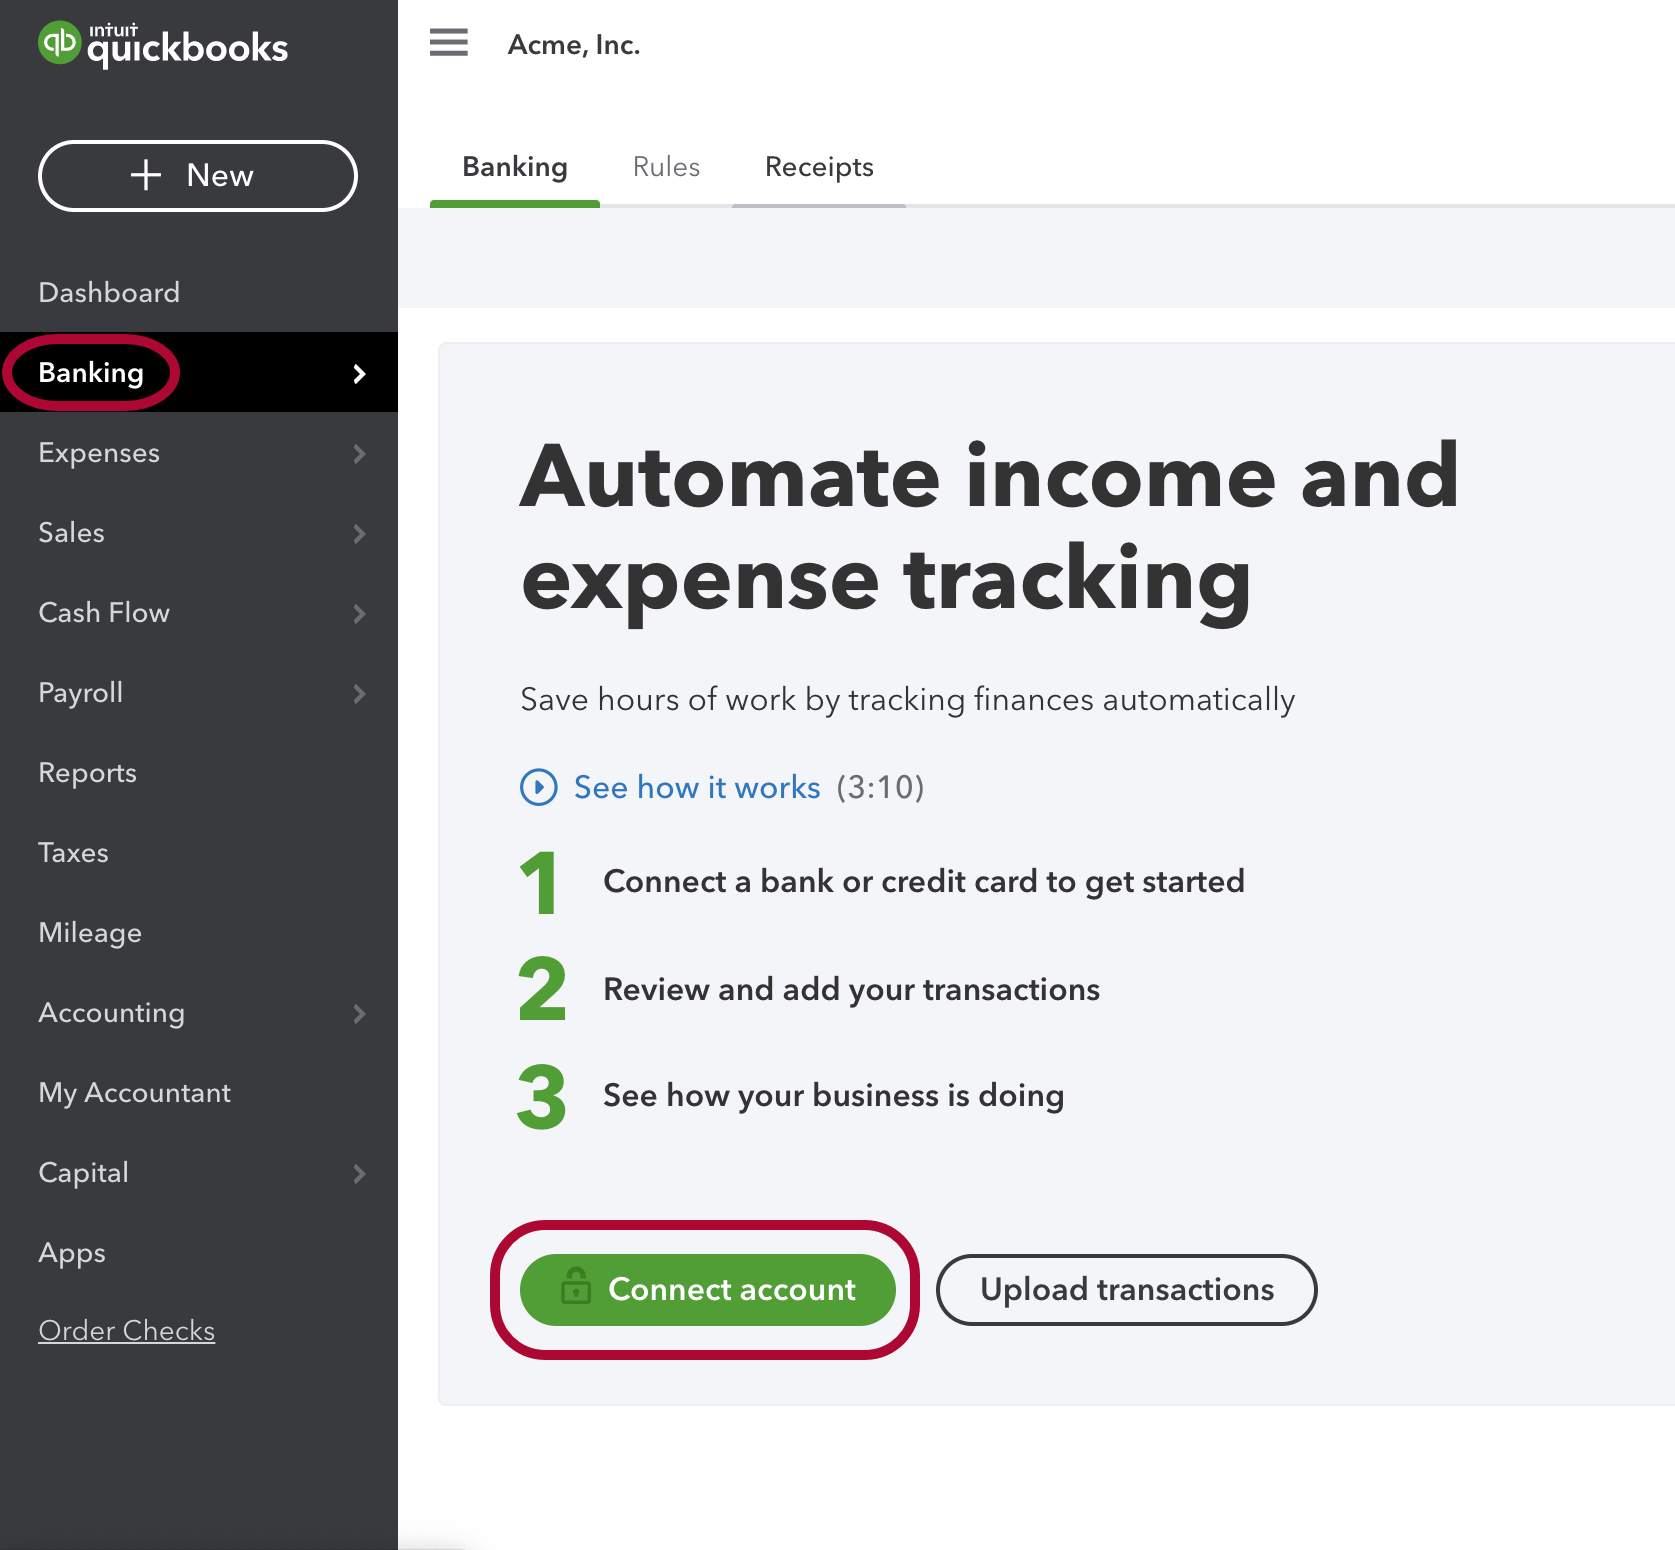
Step 1: Log into QuickBooks Online. From the Banking page, click Connect Account.
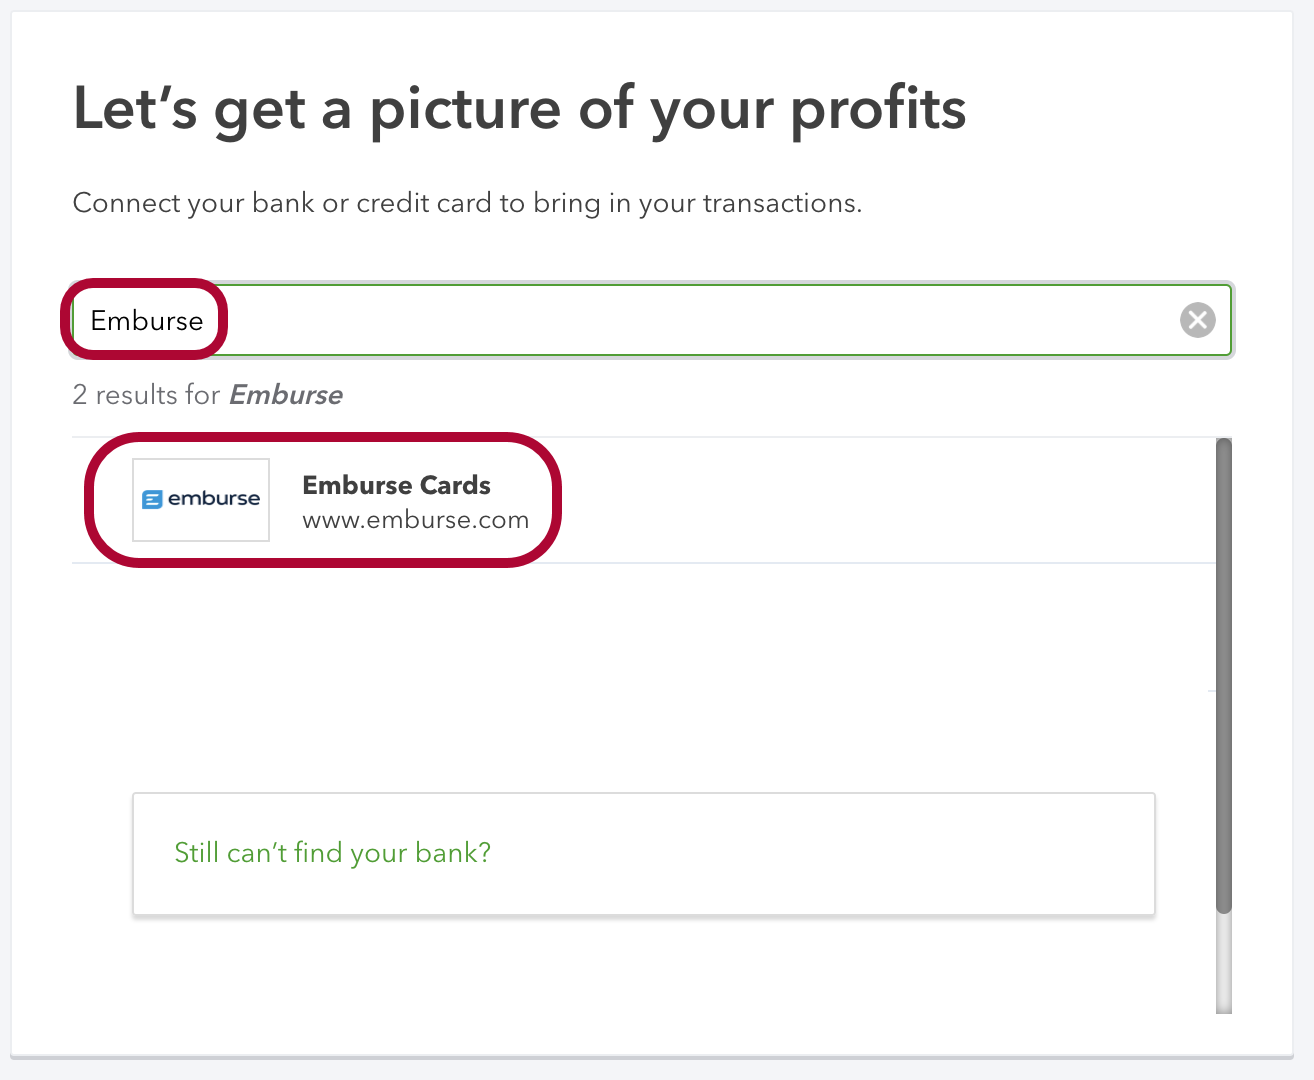
Step 2: From here, search for Emburse and click it.
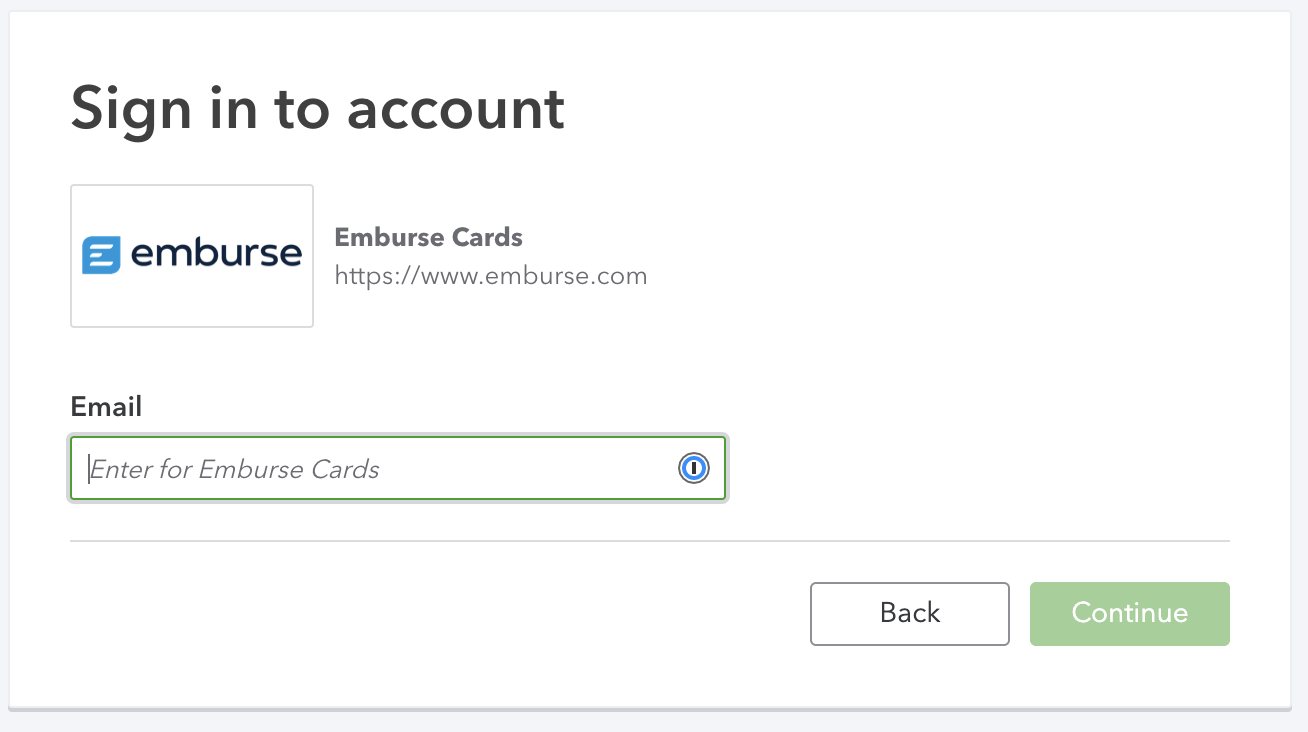
Step 3: Next, enter the email address for your Emburse account to authenticate.
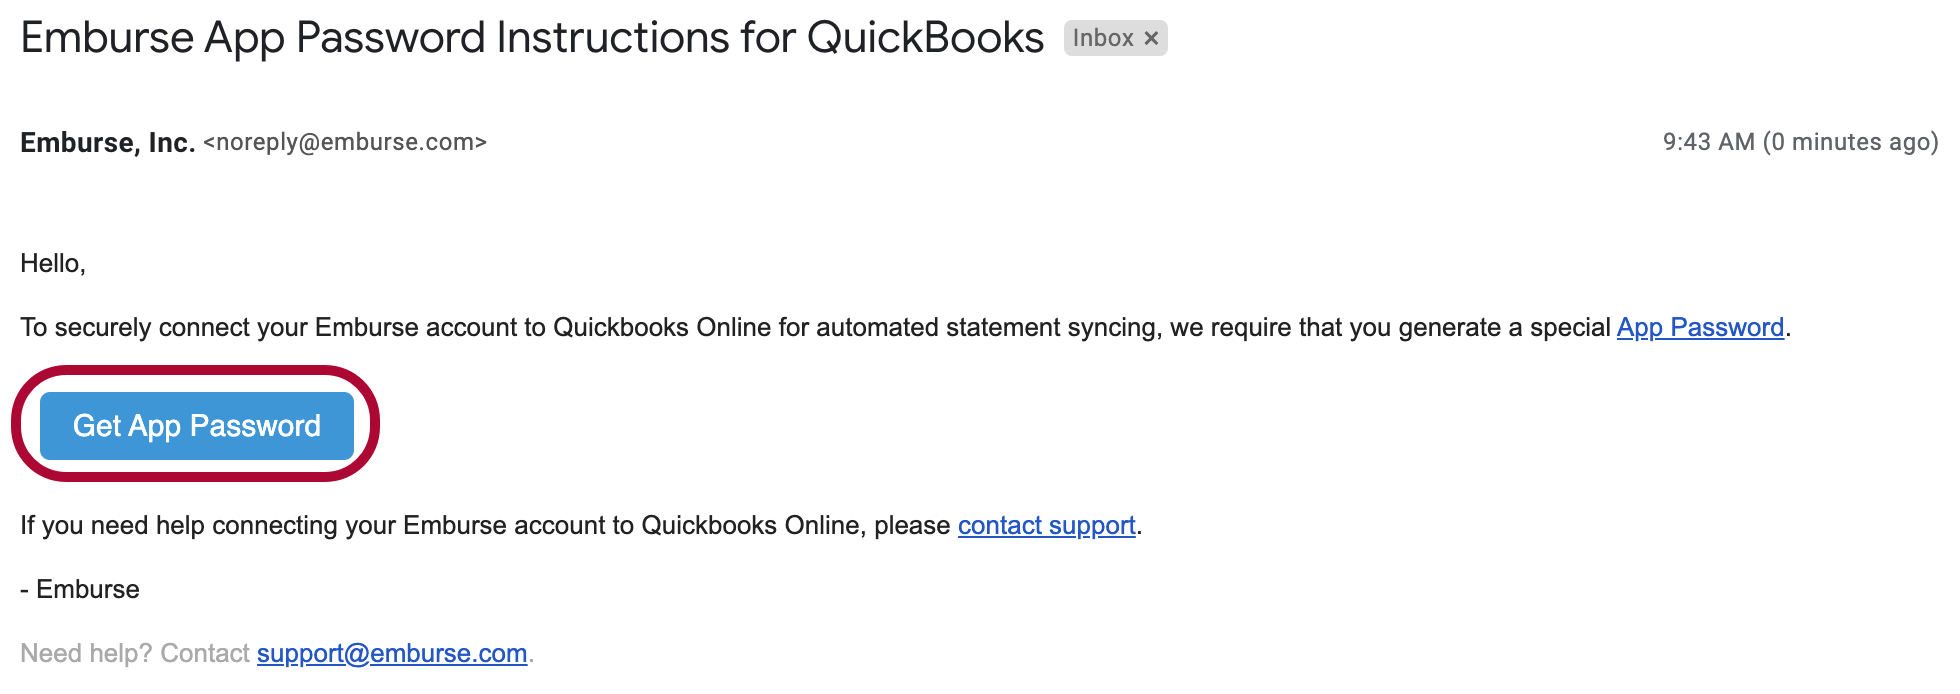
Step 4: You'll now be prompted to enter a password received from your email address. Start by finding that email and clicking Get App Password.
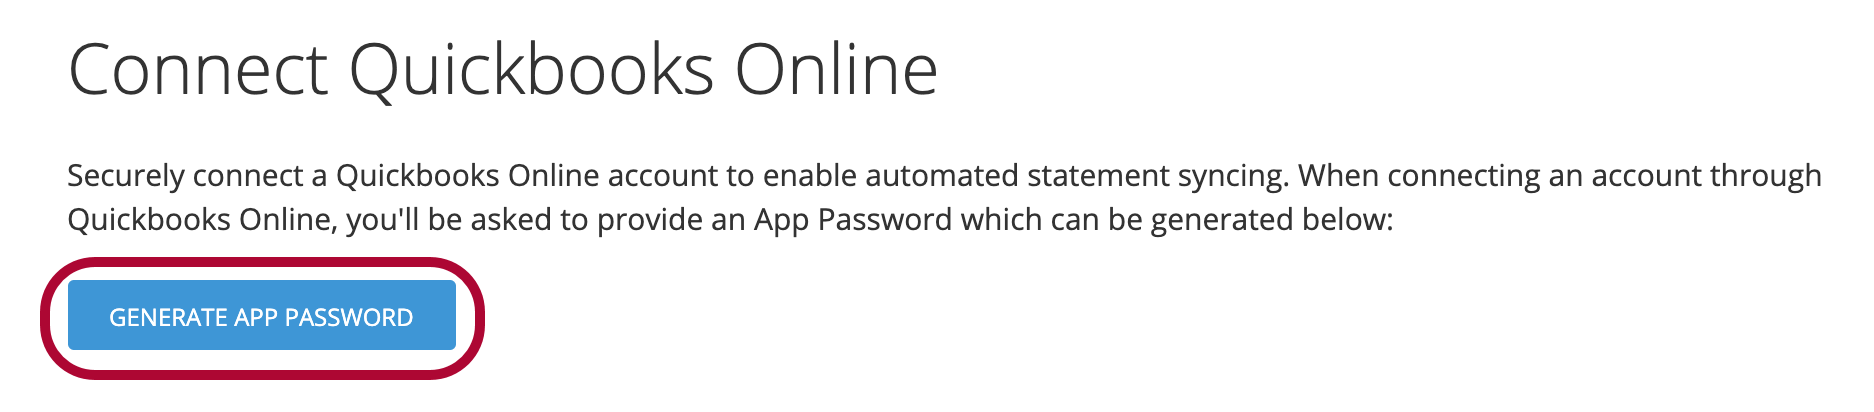
Step 5: Next, click Generate App Password.
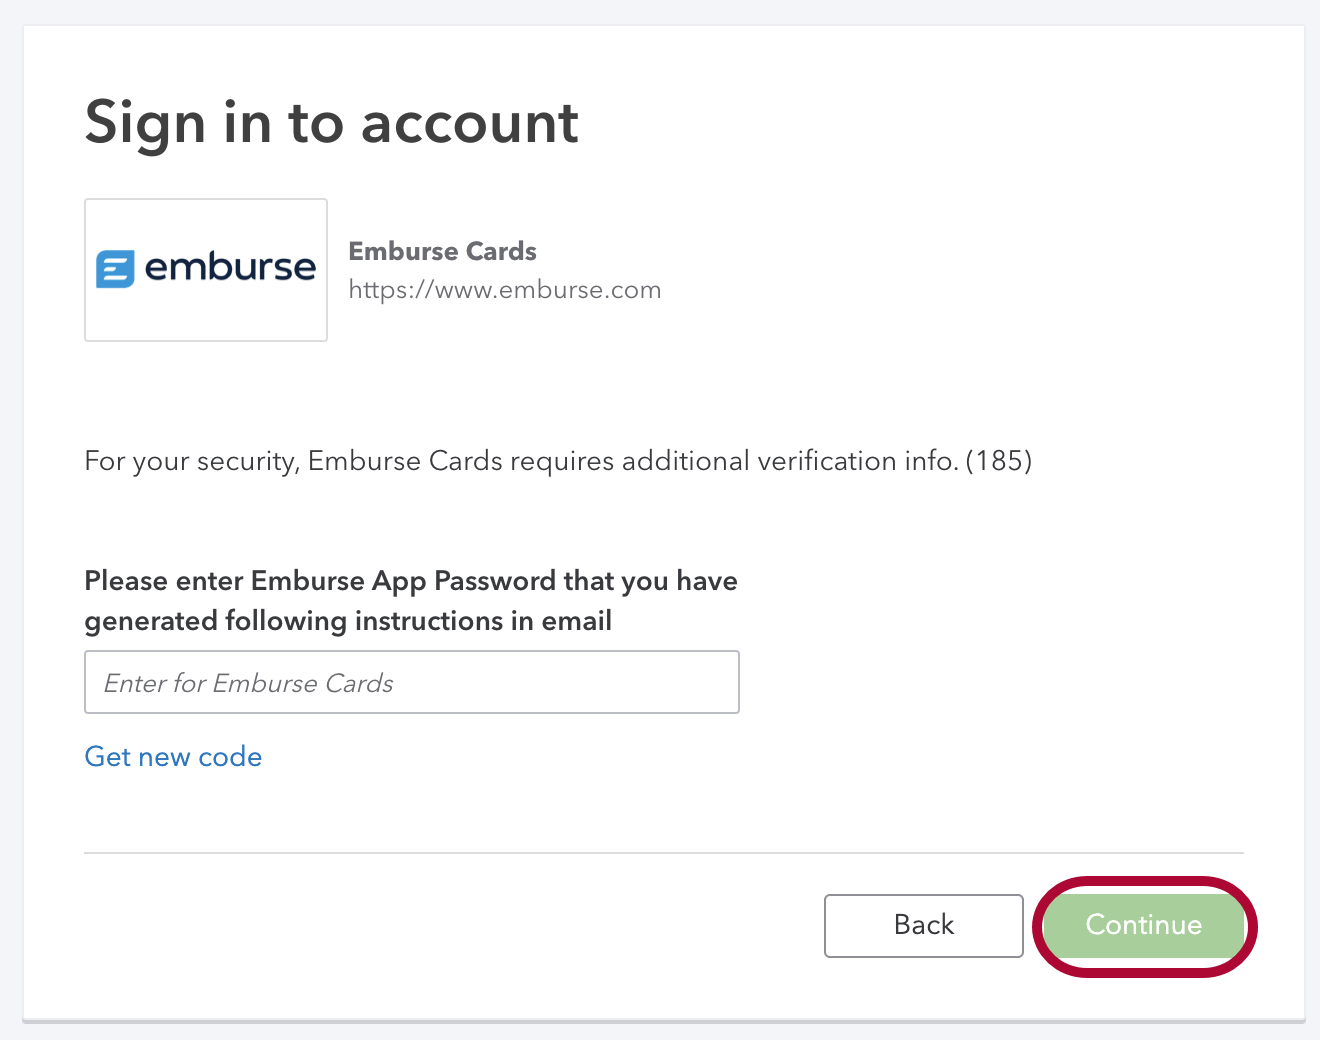
Step 6: Enter the password provided in the original field. Then, click Continue.
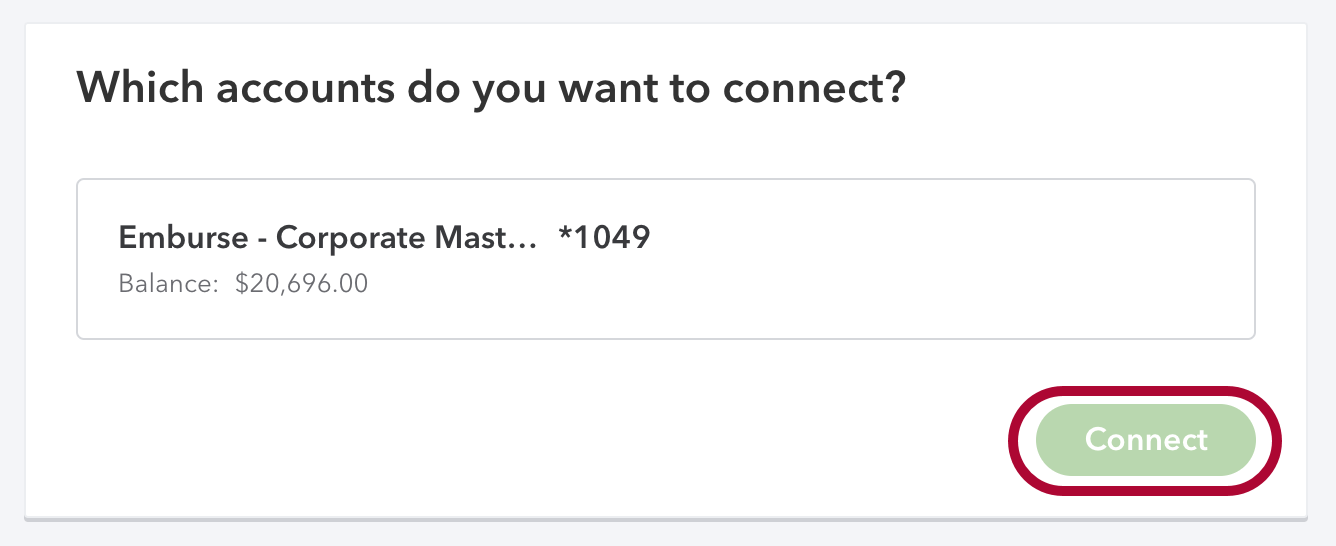
Step 7: Choose which account to connect, and click Connect,
 This type of connection only syncs over bank statement data.
Download transaction statements (CSV, PDF) and receipts
-
To download transactions or receipts, you must either Accounting or Admin permissions. Read more about User Roles here.
Download Transaction Statements
Through Emburse, you can download CSV, PDF, OFX files of the transactions on the account. Read more about downloading CSV statements for Intacct and Netsuite.
Download statements by month
- Click on the Accounting page
- On the right side of the month you want, click on the "Download" button
- Select the document type you want to download

Download statements for a custom date range
- Click on the Accounting page
- On the right of "Statements", click on "Custom Date Ranges"
- Enter the start date, end date, and format for the statement
- Click on "Download Statement"

View statements by month
See a PDF of transactions for that month.
- Click on the Accounting page
- On the right side of the month you want, click on the "View" button

Download Receipts
View any receipts related to transactions from a specific month.
1. Click on the Accounting page
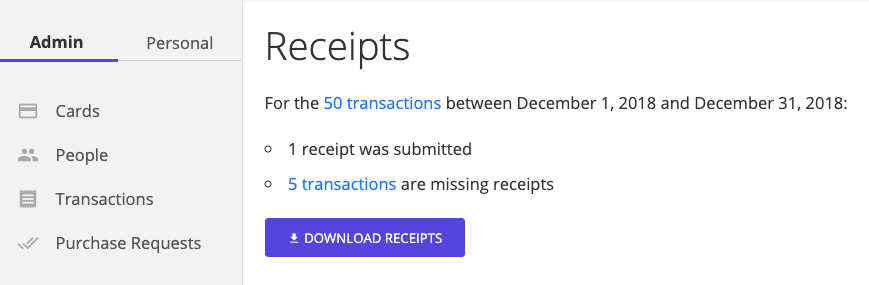
2. On the right side of the month you want, click on the "Receipts" button

3. This shows a few pieces of information:
- the total number of transactions for the selected month
- the exact number of receipts submitted
- any transactions missing receipts (if a receipt is required via an expense policy)
Click "Download Receipts" for a zip file of all receipts submitted for the given month.
Pending Transactions
Note that pending transactions are not included in any statements. Only transactions that have posted will be on the downloaded statements.
Read more about Pending Transactions here.
About CSV exports
A default CSV export of the transaction statement includes the following information:
- Date: When transaction posted
- Authorized on: Date of expense
- Amount
- Balance
- Description
- Payee: Merchant or Vendor name
- Card: Card description and last four digits of the card
- Member: User who is assigned the card
- Category
- Department
- Location
- Label
- Receipt URL
- Note
You can also change the default CSV columns by following the instructions here.
Use this information for any expense audits or import into another accounting platform.
If you're using the Emburse Chrome Extension, you can connect your account and automatically sync statements to QuickBooks Online, Xero, NetSuite, or Intacct.
Downloading statements will download all transactions for that date range. If you want to filter the transactions by card, location, or anything else, we recommend filtering the CSV statement for the transactions you need.